


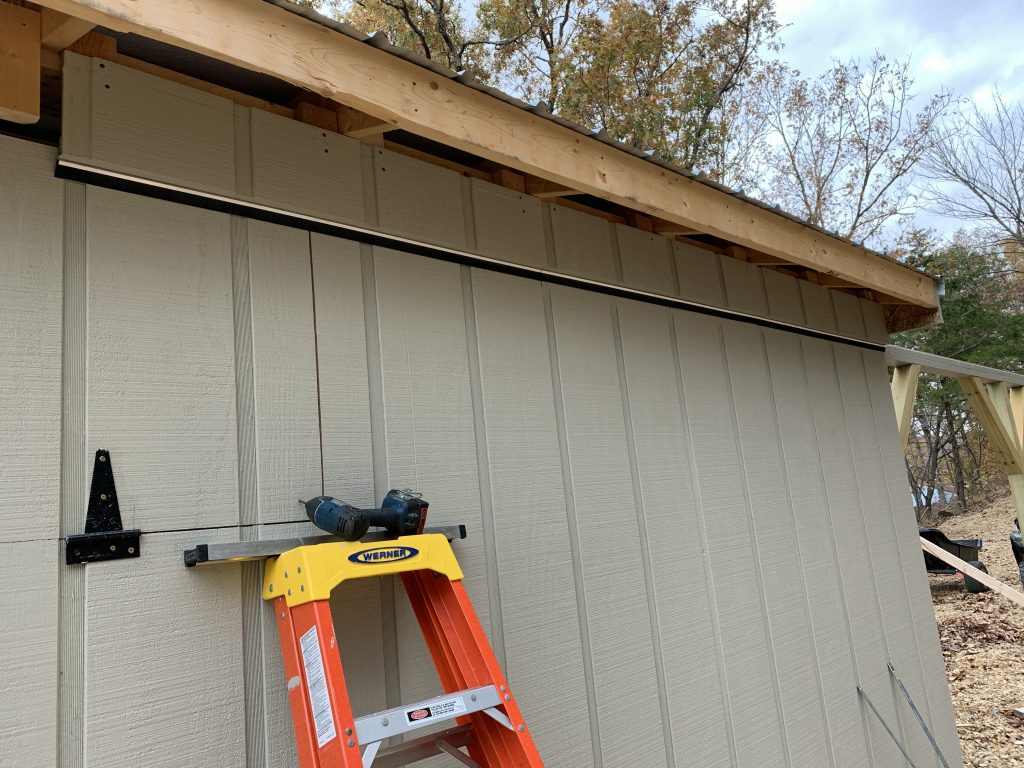
Been tied up much of this past summer with other house projects – remodeling our living room and upgrading to a new dock for our lake front home. That is not to say I haven’t been working on the observatory – performing systems testing, interior paint work, wall flap brackets, and doing some actual visual observing. I couldn’t be happier with the results so far…
One of the first things I worked after moving the LX200 to the facility was getting integration between the LX200 onboard computer (Audiostar Controller) and some open source planetarium/sky mapping tools. Currently my tool of choice is Cartes du Ciel on Linux (aka SkyChart). SkyChart, like many other open-source tools supports an open-source integration library called INDI or Instrument Neutral Distributed Interface...
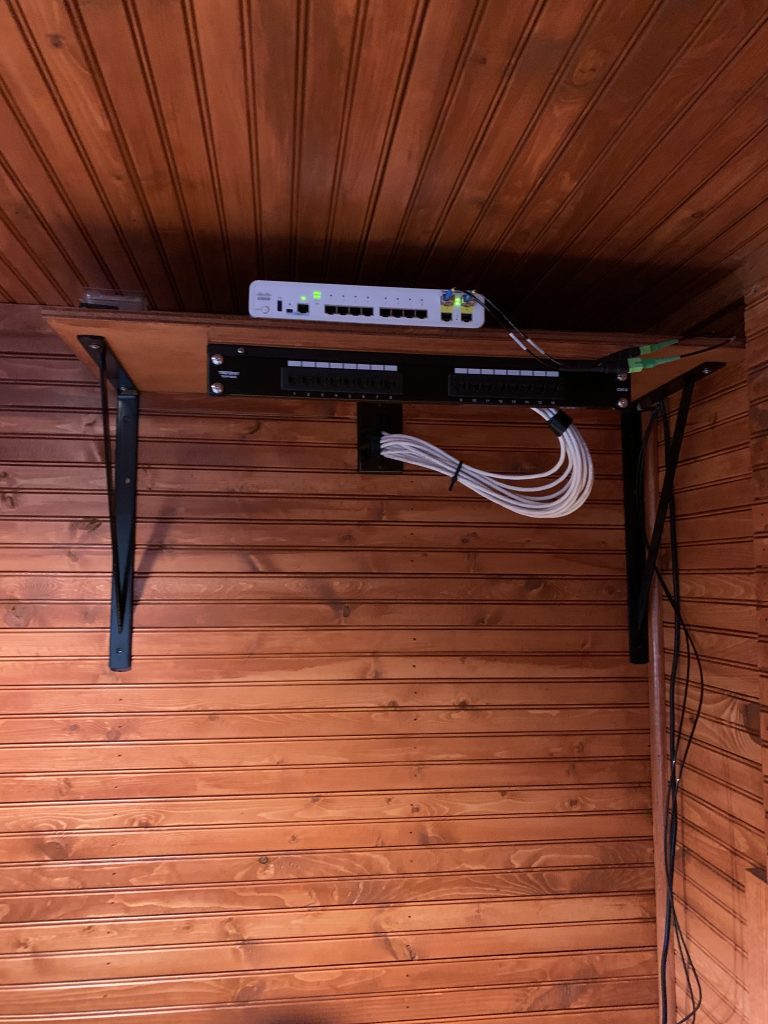
This past weekend I finished up enough of the remaining items at Lozwott to be able to begin system testing! The termination and testing of 10 CAT 6 ethernet connections, turn-up of the fiber and Cisco 2960 switch that uplinks the facility to the the house network and the internet, installation of a control room PC (running Archlinux and Window 10 in dual-boot configuration), and some additional control room led lighting. Lastly, I finalized roof cam latch installation to make the roof as secure as possible when closed. Lastly, I moved my 12″ Meade LX200 Classic Schmidt-Cassegrain telescope to its initial home in the observatory – a truly monumental step in this journey. Here are some pictures:

Been a few weeks since my last post (some due to a skiing vacation in Winter Park Colorado), however a significant amount of progress has been made. Most of the work involved stain, trim board, outlet and switch covers, carpeting, desk top construction and low voltage wiring work.
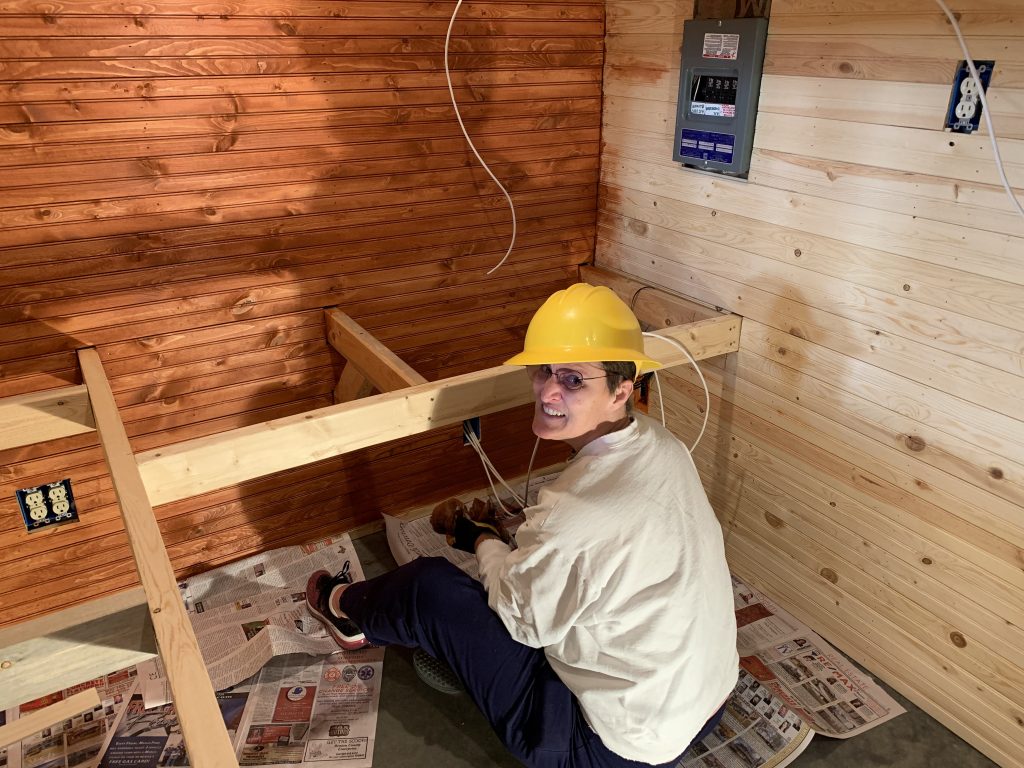
I drafted Tif to help with the staining and polyurethaning of the control room walls and ceiling. Couldn’t ask for a better result – I achieved exactly the log cabin/lodge look I was shooting for. We used a Miniwax custom stain color of “Terracotta”, a single coat made for the perfect color. Here are some pics:
After staining, carpeting and baseboard and other trim was installed – we used self adhesive carpet squares from Foss...
This weekend saw a major milestone in construction! Lozwott now has a motorized retractable roof! As said previously, the roof motor comes from backyardobservatories.com, and its very heavy duty. The motor is assembly comes on a steel plate about 11″ tall, and 12″ wide, and weighs about 40 pounds. The motor’s gearing ratio allows for about 880 ft-lbs of torque. It shipped with about 13′ of steel rack that mounts to the roof roller assembly on one side. The motor’s gear essentially just pushes or pulls the roller assembly to open/close the roof. It also comes with magnetic stops to set the motor stops at the desired open and closed postions.
Work started with mounting the rack to the eastern roller assembly...
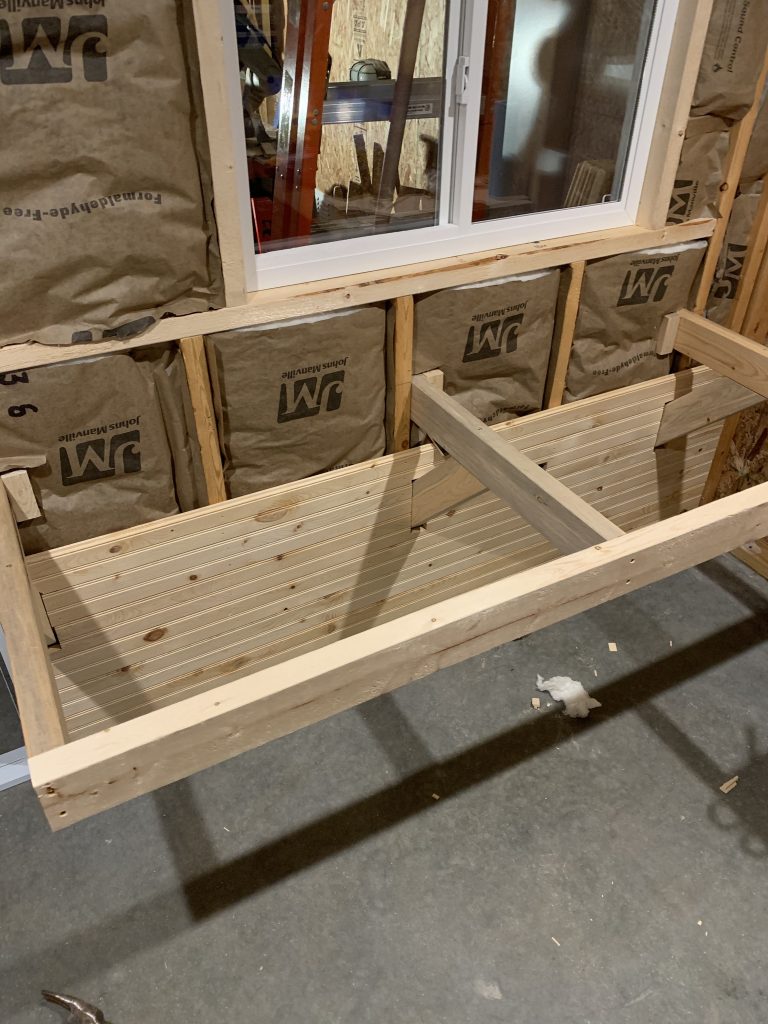
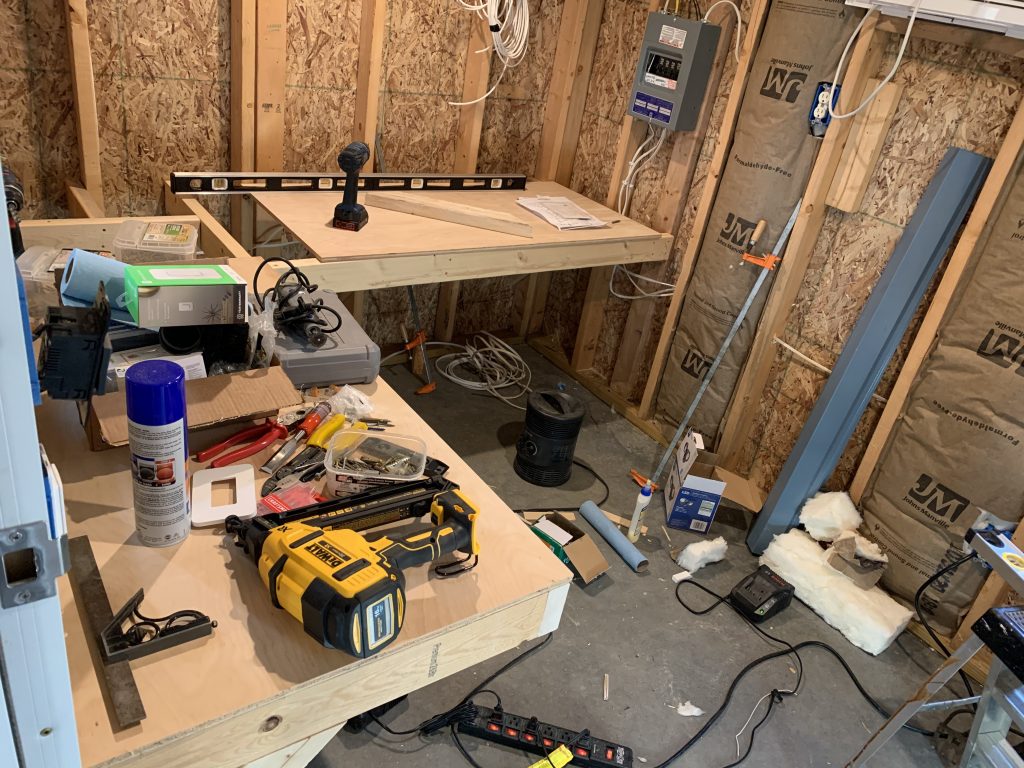
Been a couple weeks since my last post, but none the less more progress has been made. Spent the last few weekends continuing to install the double-bead wall boards in the control room. This past weekend, I completed all four walls, and the ceiling. I don’t think I it could have come out better. The weekend before I completed the work table frame also. This is a basic structure of 2×4’s to create an “L” shaped table base that I will cover with 1/2″ oak plywood. Here are some pics of the work table/desk construction:

Back to the walls – spent the last couple of weekends insulating and...
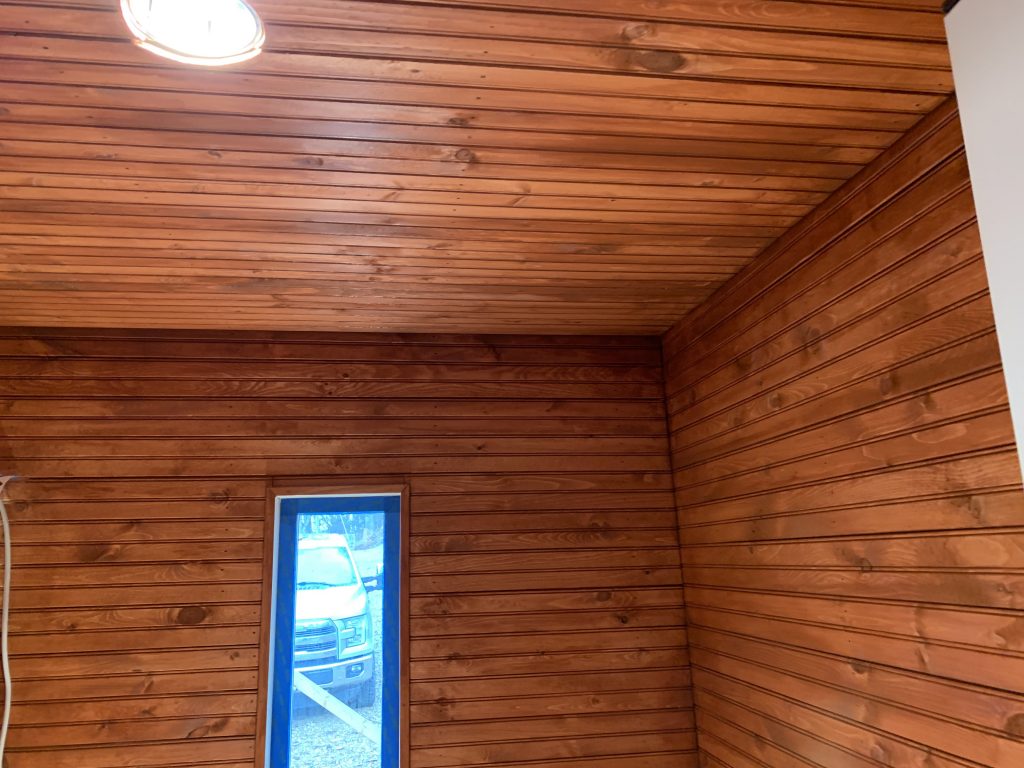
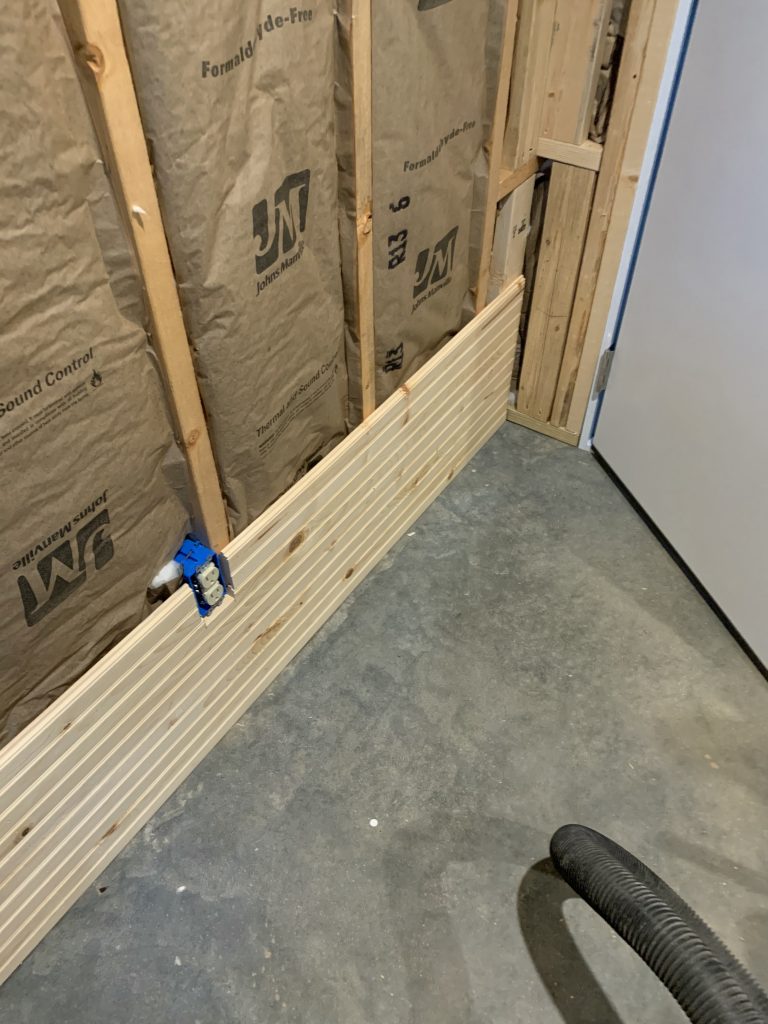
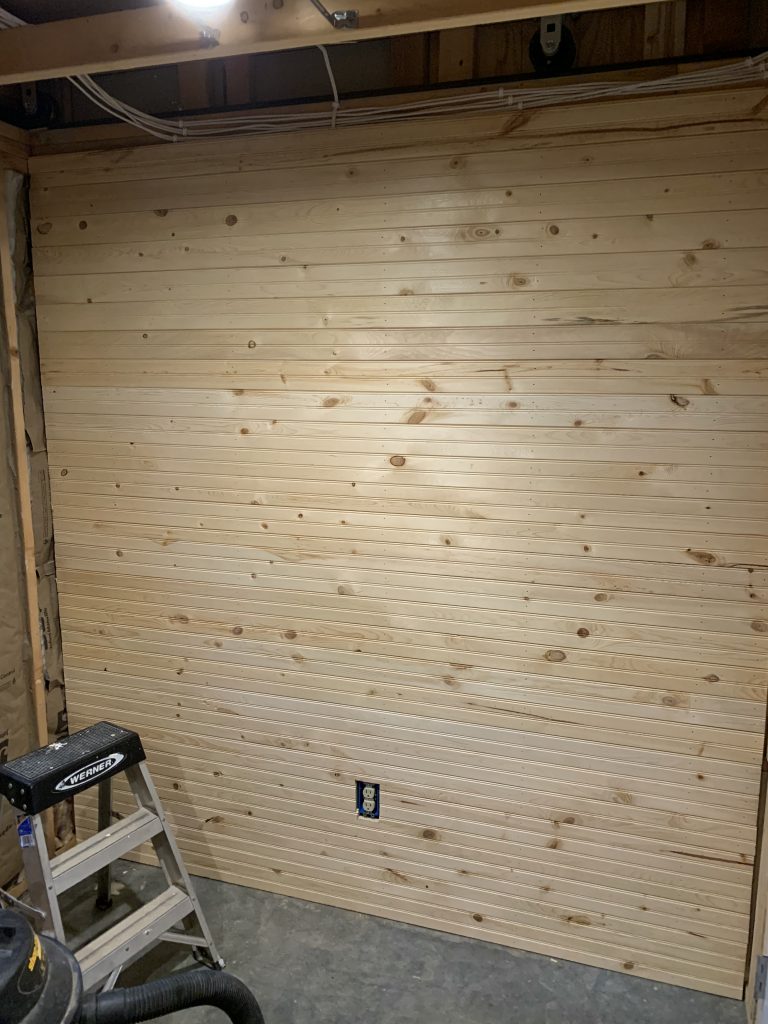
We are nearing the home stretch on real construction for Lozwott – last weekend I spent some time sealing up the interior walls of the control room. I am looking for a more “rustic” look, so I decided to use double bead pine tongue and groove board for walls. Had to borrow my neighbor Nathan’s nail gun, which made the job alot easier. Anyway, my intent is to finish the walls and ceiling with this look and then stain and coat the boards with a terracotta colored stain. Should look pretty nice when its done. Here are some pics:
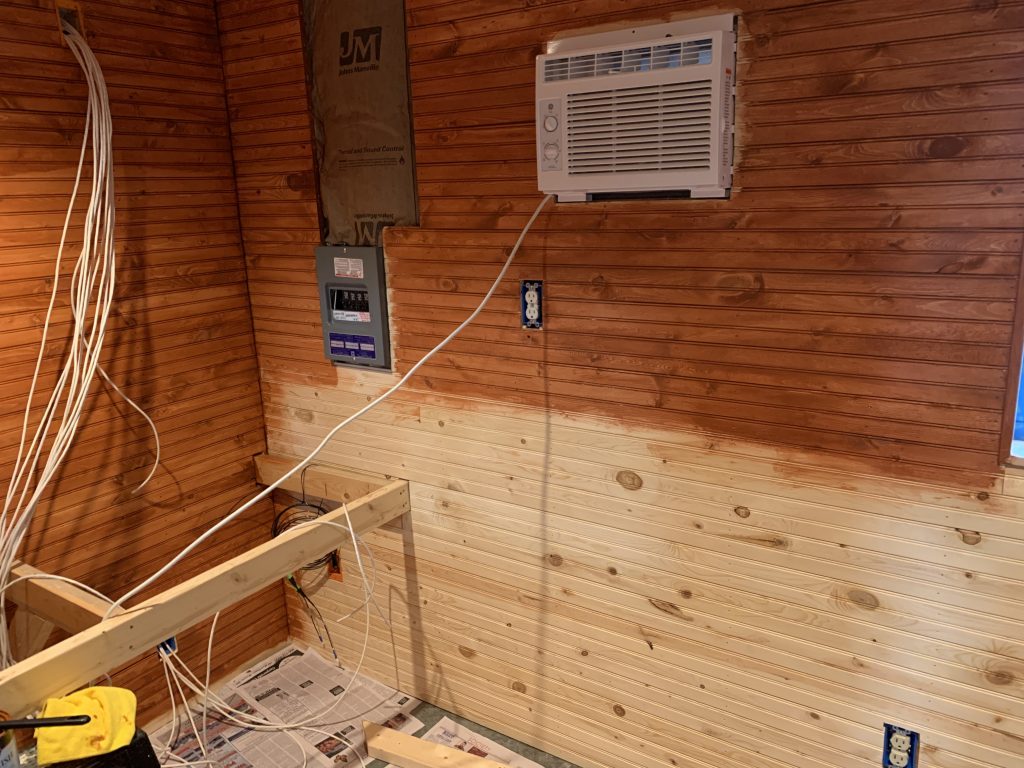
It’s been a while since my last update, but significant progress has been made. Since Thanksgiving, I have made progress on electrical installation including all of the circuits and outlets for the facility, as well as lighting.
Lozwott has 5 electrical circuits:
One 15 AMP circuit for all LED based lighting
One 15 AMP circuit for Computers and Telescope Electronics
One 15 AMP circuit for general use outlets
One 15 AMP for the A/C unit in the control room
One 20 AMP circuit for the roof motor
Installation of the different circuit legs using Romex 14-2 or Romex 12-2 was pretty straight forward. I made use of push connectors (as opposed to wire nuts) as much as possible...
Spent the last two weekends trying to get all the last of the exterior needs done/ready for winter. The weekend before last included a serious amount of painting and caulking, sealing and more painting, caulking and sealing, including installing metal corner pieces, building the exterior door frame trim, rail support trim, additional brush stripping and other weather proofing.
The metal corner pieces are the same G-Channel metal that I used on the the roof for peak edge trim. These pieces really help protect and dress up the corners of the building.
I painted the bottom edge of the siding all the way around twice with two generous coats of clear “Flex seal” in an attempt to water proof the bottom edge of the building. Got a good coat of paint on the soffit and facia as well.
...Been a few weeks since my last post, but work has continued. Spent most of this past weekend and the weekend before working on the roof skirt and brush stripping. The skirt is made from 48 inch wide, 8 inch high sections of 12 inch on center plywood siding with a small 1 inch strip of OSB attached to the bottom edge. Attached to the OSB is an aluminum brush strip holder. One the east and west sides of the building, this skirt assembly holds the brush stripping at a 45 degree angle, hanging below the top of the wall. This should keep most stuff out – time will tell.
Here are some pics of the completed east and west skirts:
Its been a couple of weeks since the last post, however work continues. With the change of weather I have been focusing on finishing the exterior as much as possible in preparation for the Winter. Hard to believe I have been working on this project since last December, when the concrete was first poured.
Anyway – Tif and I installed the roof peak trim metal, as well as completed a two full coats of paint last weekend. I also temporarily installed four center cam latches – these will need more work later, but they will allow the roof to be unsecured and opened quickly. I also spent some time working on a “mock-up” of a skirt for the roof that will allow it to be weather sealed with brush style weather stripping...


