


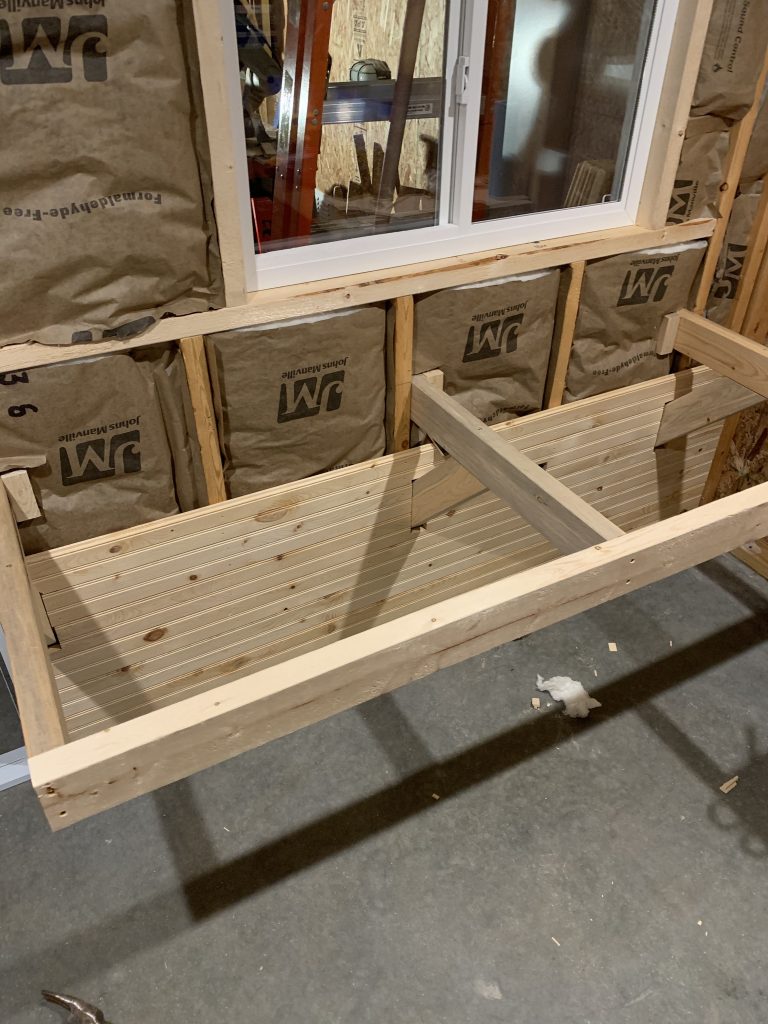
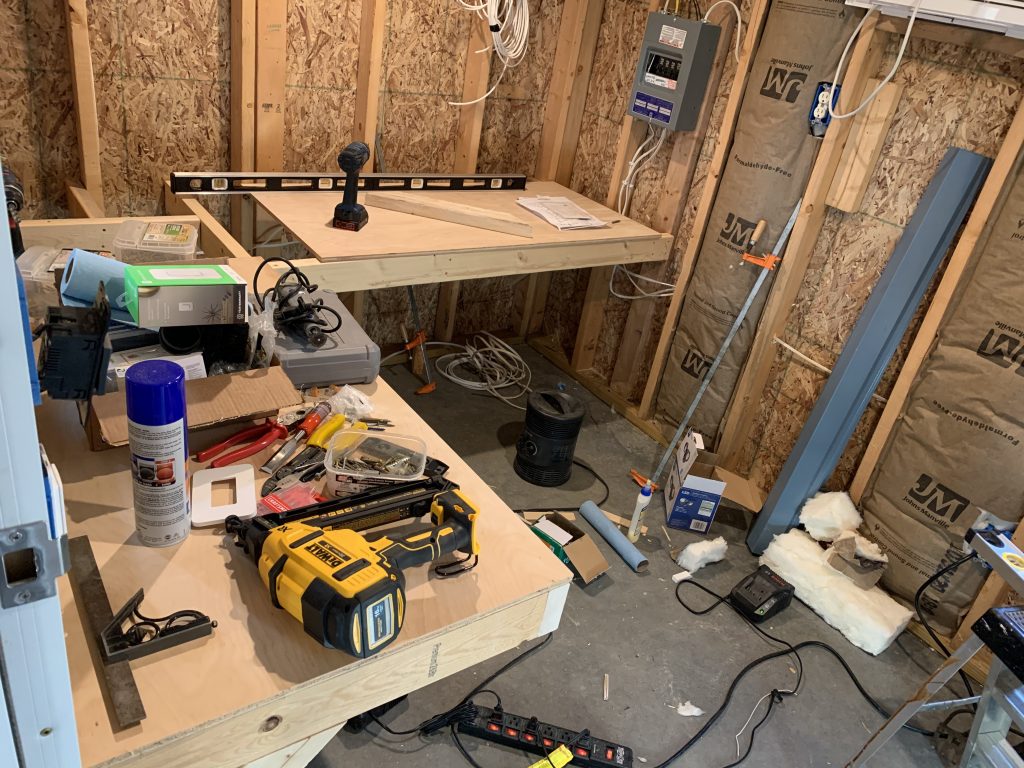
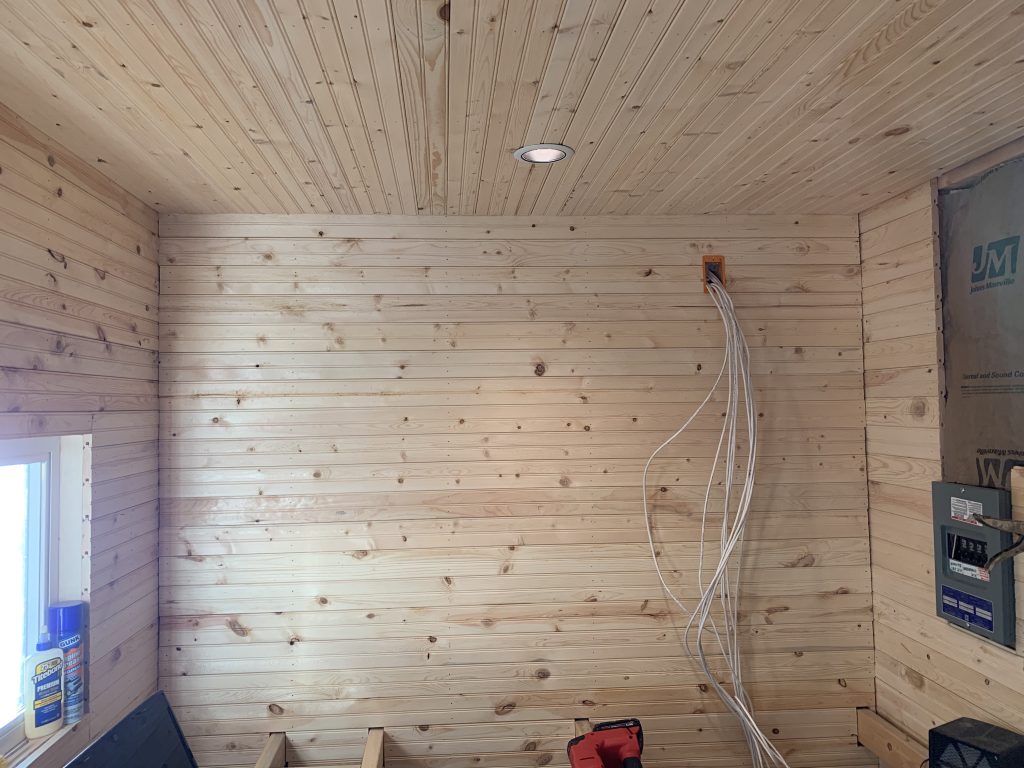
Been a couple weeks since my last post, but none the less more progress has been made. Spent the last few weekends continuing to install the double-bead wall boards in the control room. This past weekend, I completed all four walls, and the ceiling. I don’t think I it could have come out better. The weekend before I completed the work table frame also. This is a basic structure of 2×4’s to create an “L” shaped table base that I will cover with 1/2″ oak plywood. Here are some pics of the work table/desk construction:

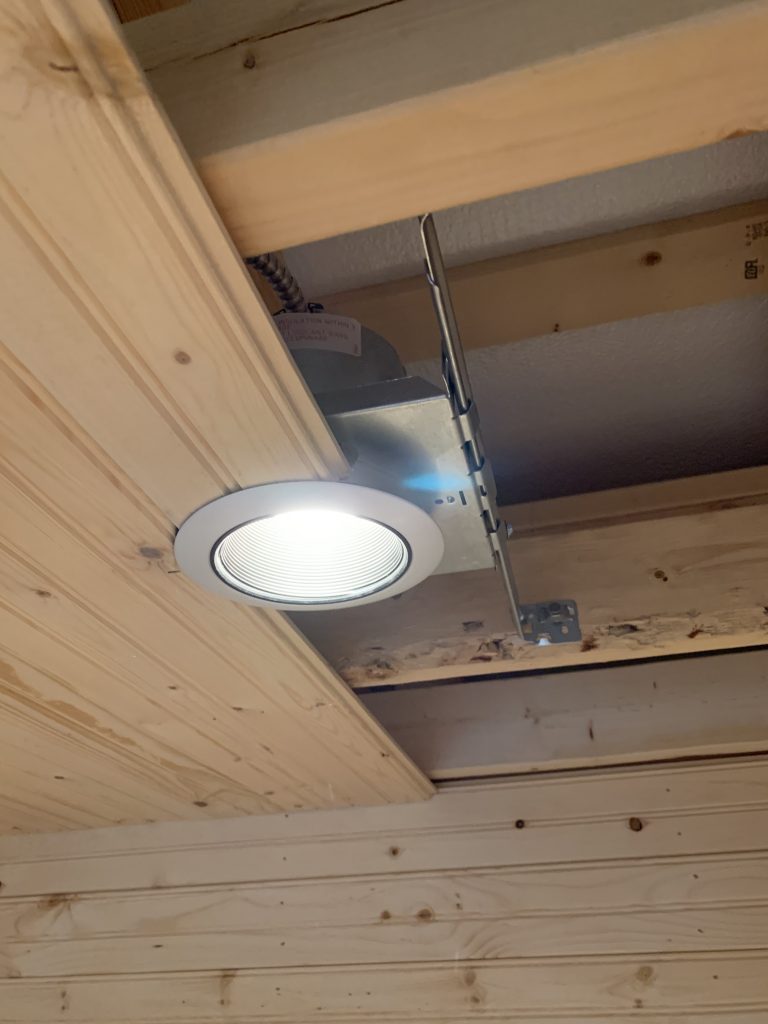
Back to the walls – spent the last couple of weekends insulating and hanging wall board. On Sunday, I completed the final part – the ceiling. Its was an interesting experience cutting the board with a jig saw to fit around the can lights in the ceiling. Basically I cut a 4 1/2 inch circle template from OSB, that I ended up using a sour cream container to make the 4 1/2 inch circle. Using this circle and lots of measurements, I was able to successfully re-create the arcs with a jig saw to go around the can lights. I used a piece of scrap to test my cuts first, and then used these templates to cut the actual installed boards. Here are some pics of the progress and finished room:
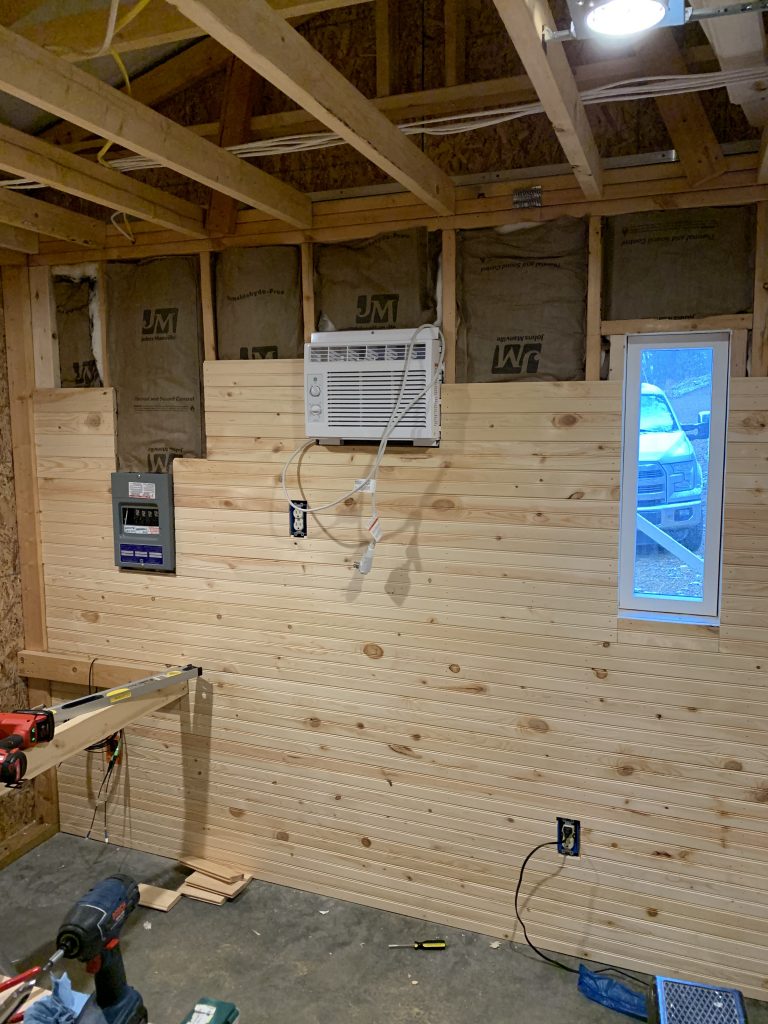
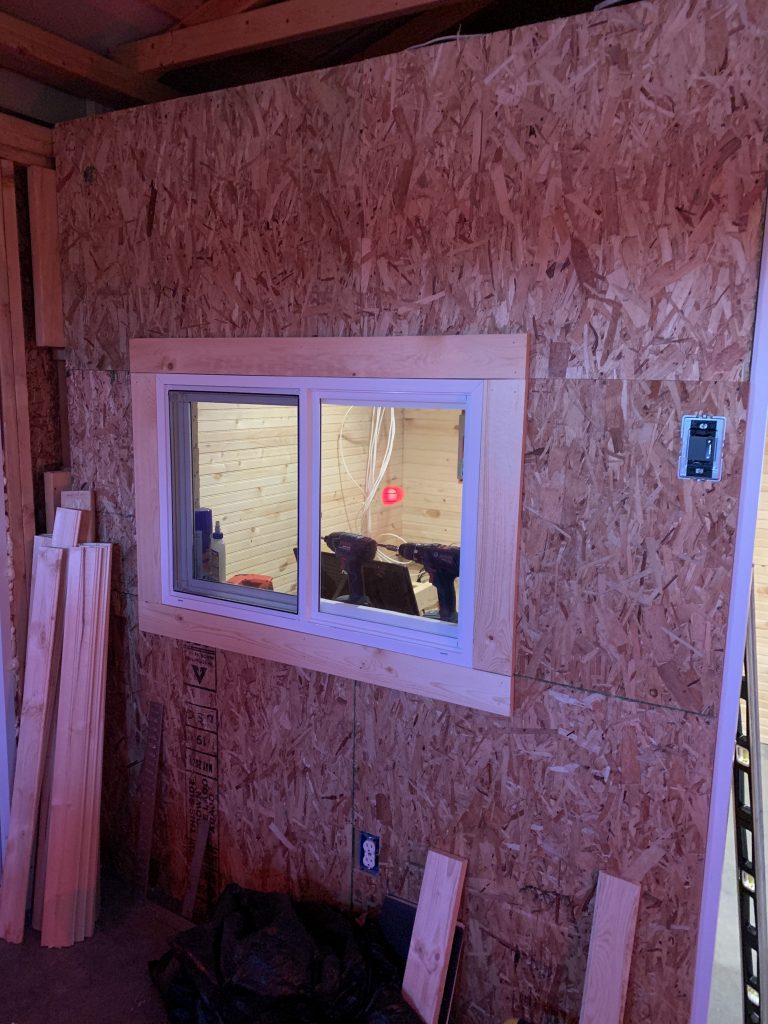
After finishing the walls, I added insulation above the control room, and then started trim work. I was able to get the window on the observatory side trimmed out – have a lot to do on the other windows, and interior door trim work.
Next weekend will be a major step forward – I received the last of the opener motor hardware for the roof. This will be an electric motor system capable of producing 885 ft-lbs of torque, specifically designed for roll-off-roof observatories from backyardobservatories.com. I plan to start and hopefully complete the install this coming weekend. After that, interior trim, stain/varnish/paint, wall flap supports, and completing the IP network wiring termination is all that remains… Stay tuned….


Leave a reply