


This weekend saw a major milestone in construction! Lozwott now has a motorized retractable roof! As said previously, the roof motor comes from backyardobservatories.com, and its very heavy duty. The motor is assembly comes on a steel plate about 11″ tall, and 12″ wide, and weighs about 40 pounds. The motor’s gearing ratio allows for about 880 ft-lbs of torque. It shipped with about 13′ of steel rack that mounts to the roof roller assembly on one side. The motor’s gear essentially just pushes or pulls the roller assembly to open/close the roof. It also comes with magnetic stops to set the motor stops at the desired open and closed postions.
Work started with mounting the rack to the eastern roller assembly. The instructions called for the rack bottom edge to be flush with the bottom edge of the double 2×6 boards that the casters attach to. This was pretty easy – I essentially used 2×4 scap pieces attached to the under side of the caster boards, and layed the rack on the boards, and clamped as needed to make sure it was flush:
Per the motor instructions, I marked the holes to be drilled by tapping a lag screw with a hammer, then un-clamped the rack, drilled the pilot holes, and installed the spacers/washers and lag screws.
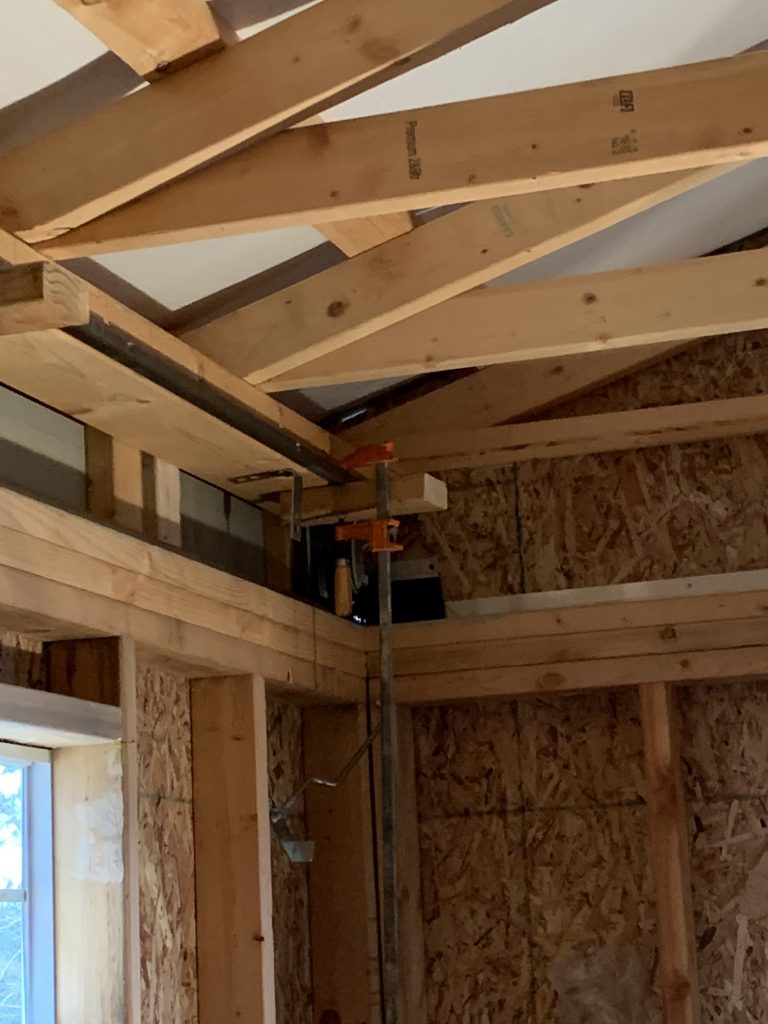
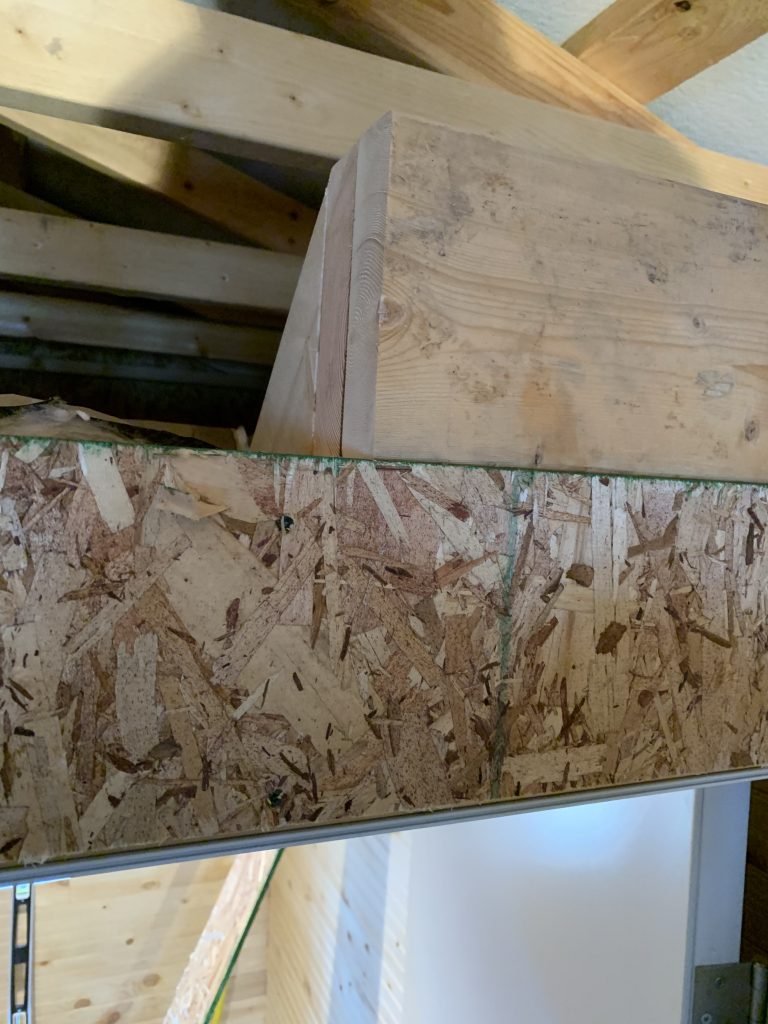
Next came the mounting point for the motor itself. Using a template cut to match the motor plate size – I designed a backing system to sustain the motor torque by laminating 2 2×6’s and then using 45 degree cut 2x4s. The 2×6’s sit long ways above the door to the control room, and the 45 degree cut 2×4’s attach to the joists that make up the control room ceiling. I also reinforced the door frame near where the motor mounted. Lastly I drove 3 6″ inch construction screws (countersinked) vertically through the 2×6’s into the door header below for extra support. Here is a pic of the motor mounting area on top of the control room ceiling.
Next came the motor installation itself. I enlisted the help of my neighbor, Dave, to assist with installation of the motor. Installation was relatively easy (although since Dave had to hold the motor up, he might have a different opinion). We drilled pilot holes after marking and leveling the motor while holding it up to the rack. After several adjustments – the motor was installed, and connected to power:

Next came the moment of truth – will it work? Will the roof roll smoothly, will the motor be powerful enough? Well – here is a couple of videos to show the results:
Needless to say I was all smiles after this!


Leave a reply