Even though I haven’t had time to do many posts the last couple of weeks – there has been significant progress on the observatory.
I finished on the siding on the roof peaks, installed the exterior door, installed electric service/fiber optics for networking, and a coat or two of paint on the siding.
The siding work on the roof peaks was a fun exercise in cutting angles to match the 4:12 pitch of the roof – this was perhaps some of the most difficult cutting I have had to do at this point. Here are some pics:
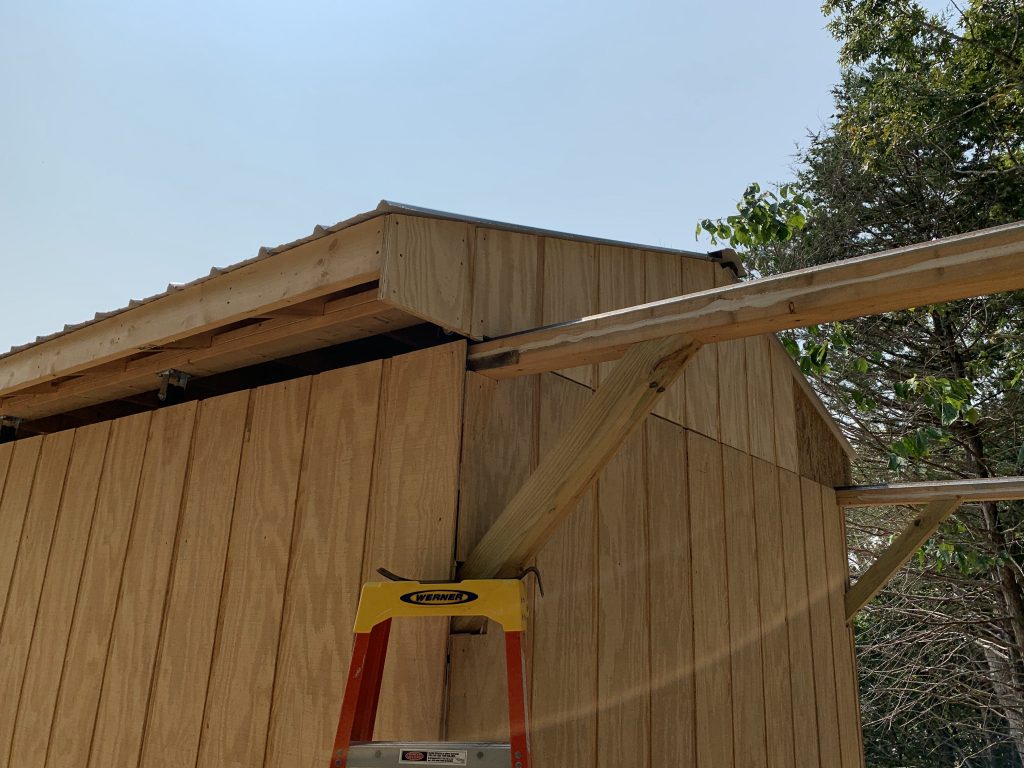
The exterior door is a Cannonball 36 inch steal door. Nothing overly exciting here -just the normal process of leveling and shimming for install...
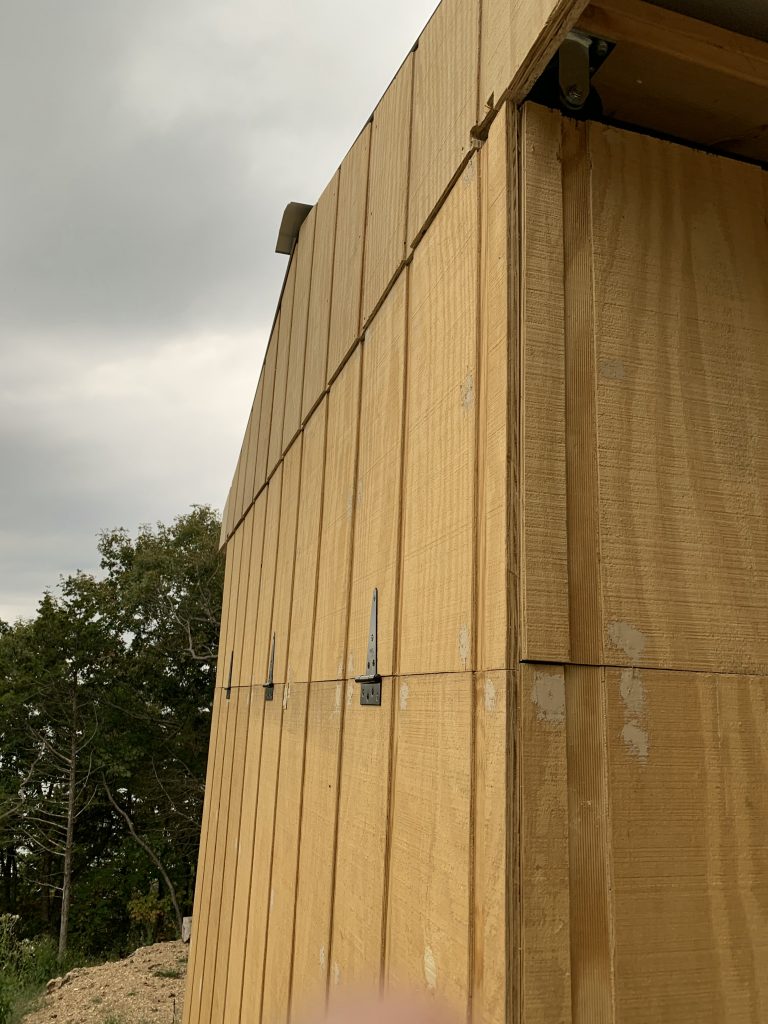
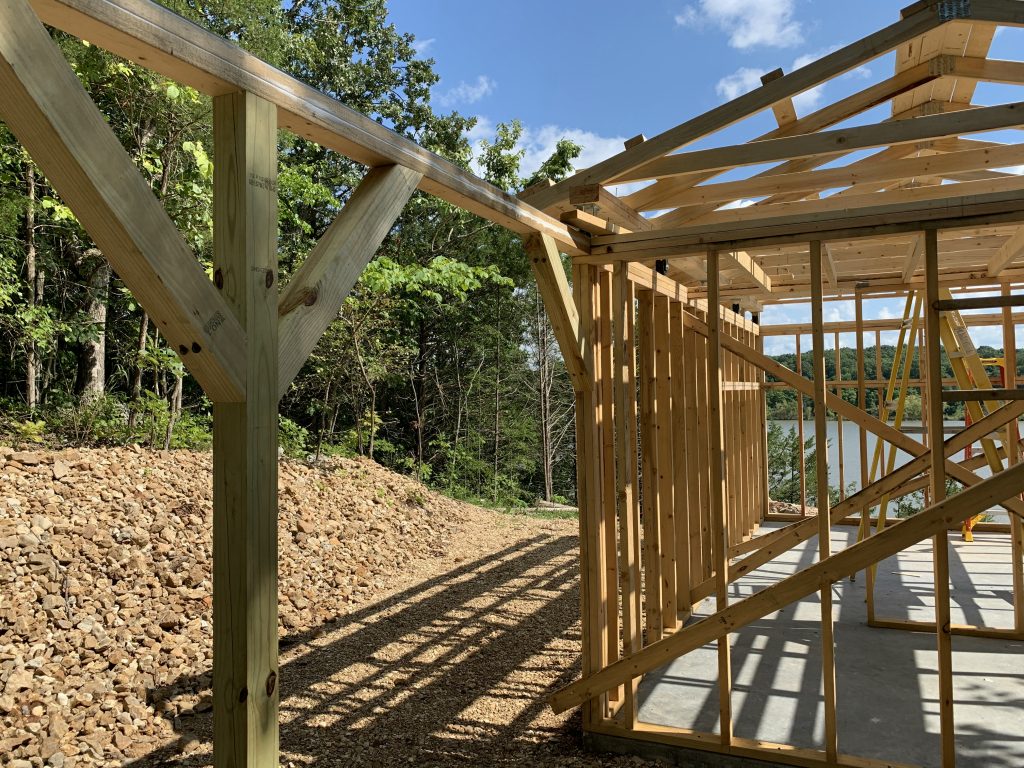
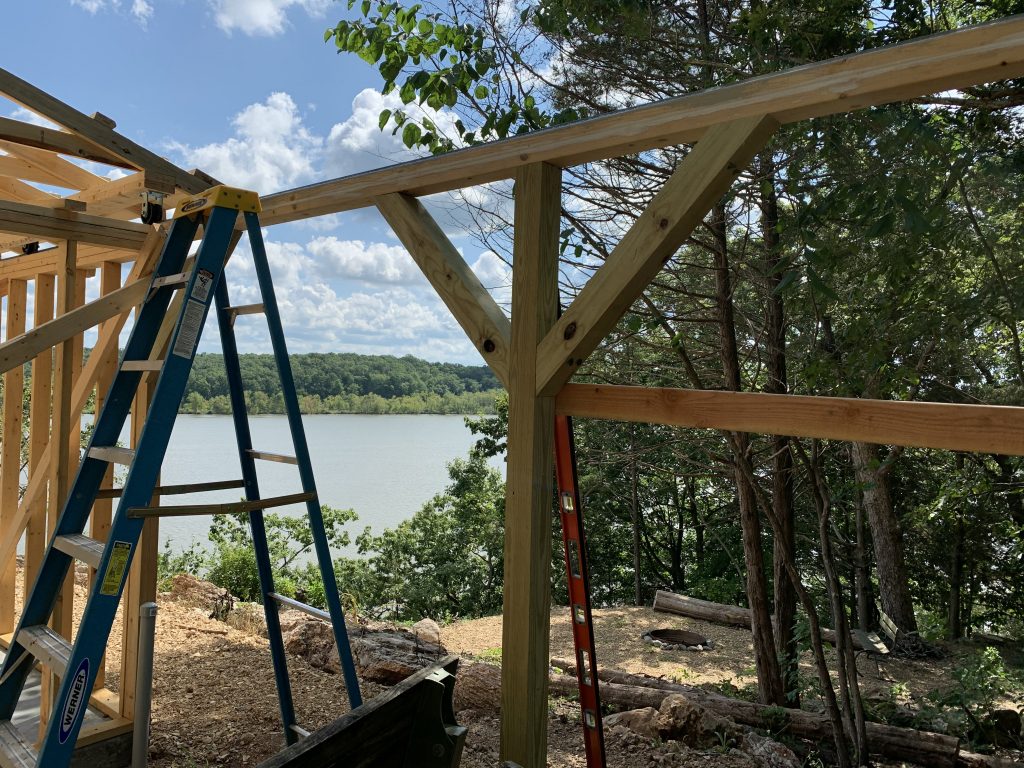
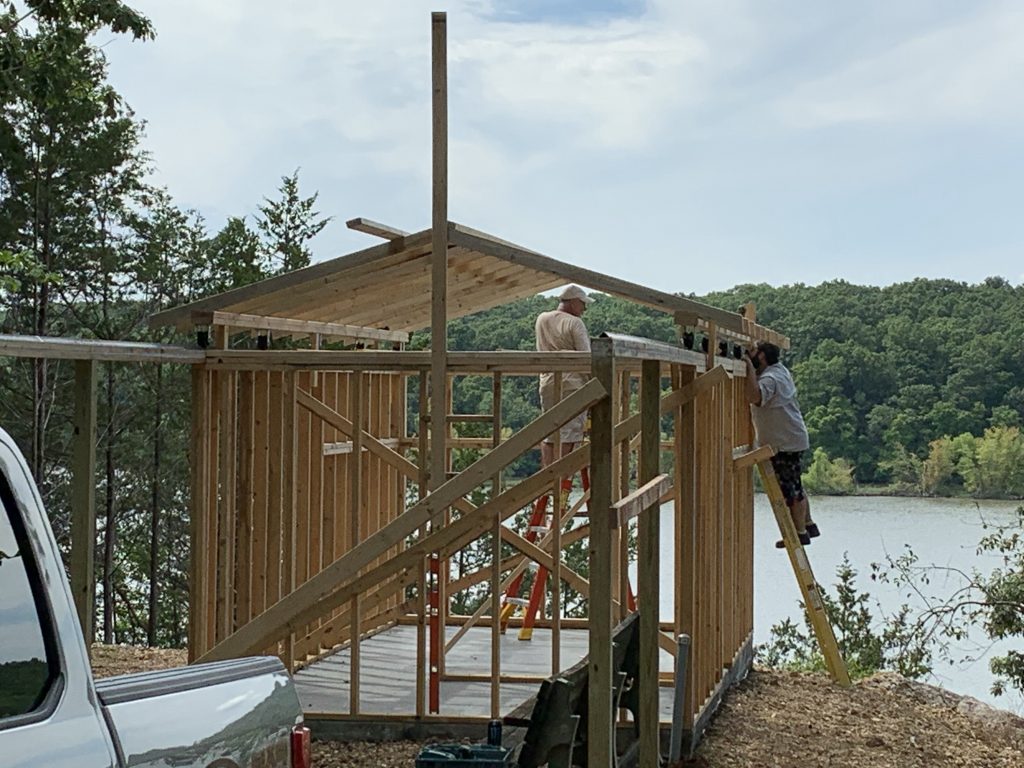
Well – the fun is winding down for Labor Day weekend – after about a week or so of fun on the water my father, Tiffanie and myself worked on LOZWOTT construction for the last 4 1/2 days. After installing exterior sheathing on most of the building, we had to install Tyvek house wrap, and then install siding. Sheathing was standard 7/16″ OSB, and the siding is 12 inch on center 5/8″ plywood. After the house wrap and siding was installed, we worked on the collapsible wall “flaps” designed to shorten the walls for observing at lower altitudes. The wall flaps are on three sides – south, east and west and are 27″ inches high. They include the triple 2×4 roof plate and angle iron on the east and west walls...
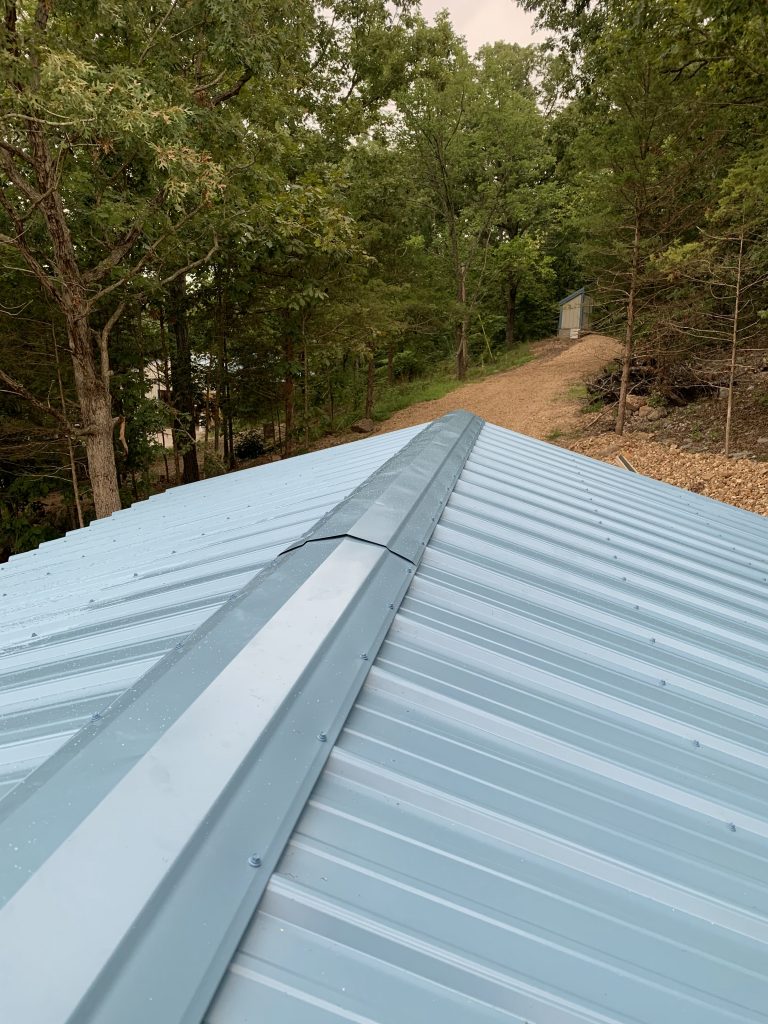
This past weekend Tif and I put the roof ridge top on – the ridge top is 2 10′ 6″ sections of metal pre-bent to a 4:12 pitch. Before attaching the ridge top, we used 14 strips of breather material that looks kind of like a brillo pad material that sits between the roof panel ribs and the ridge top sits on top of these strips. This allows the roof to “breathe” without allowing dirt and insects to come in through the roof. Putting the ridge top on when the roof is wet with condensation was difficult at best, the tendency is to slide down off of the roof when its wet! Anyway, after about 2 hours of struggling to keep from sliding off the roof, we got the ridge top finished!

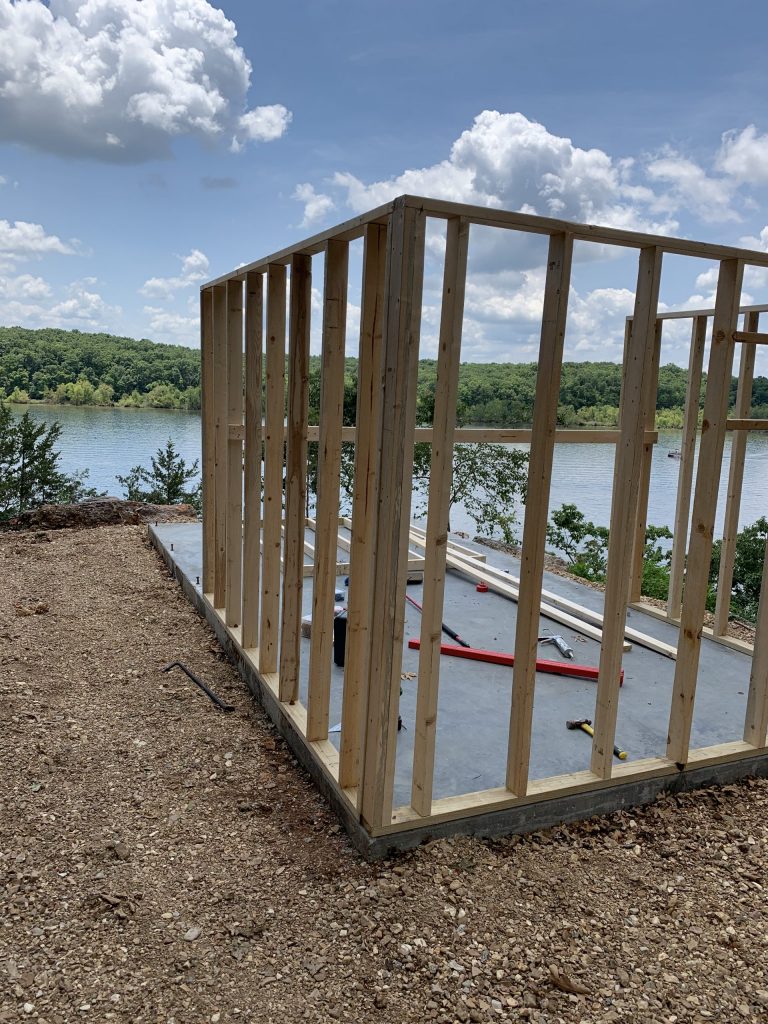
Afterwards, we began to cut and install the 7/16″ OSB sheathing on the outside of...
This past weekend Tif and I worked on putting up the facia boards and began installing the metal roof panels. We got the facia boards completed, but got rained out on the roof panels.
Here are some pics of the facia installation, consisting of two 2x6x20’s:

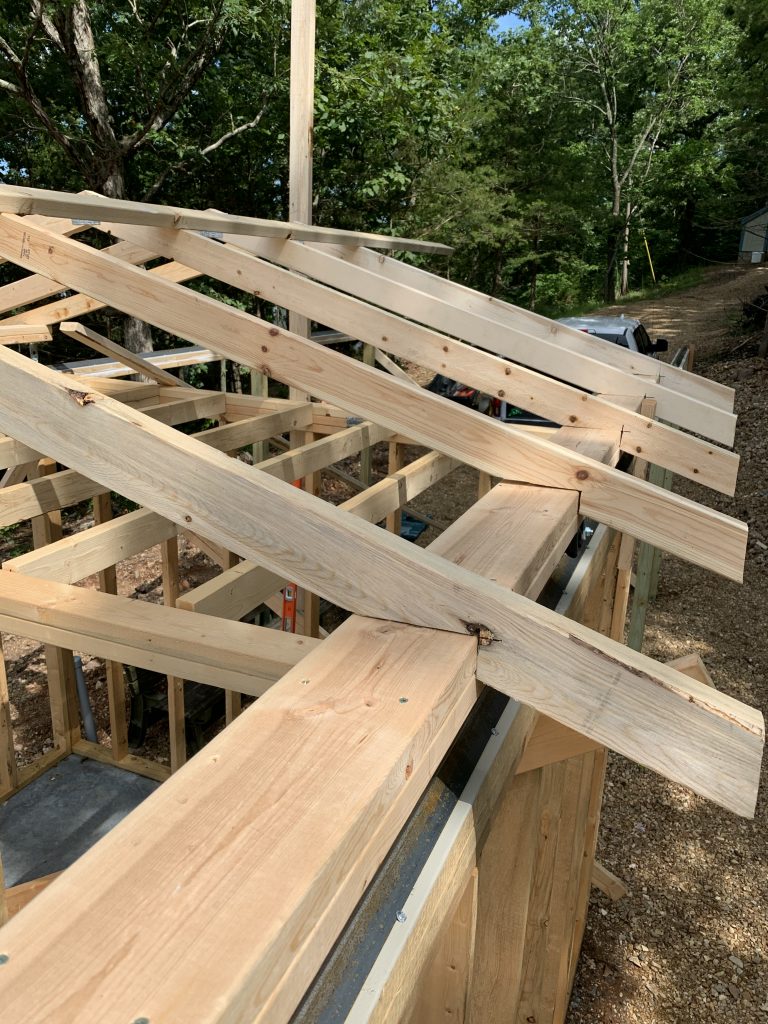
Afterwards, we began installing the metal roof panels, but not before putting down some single bubble insulation. Using staples and the insulation self-adhesive strips we installed it on the East side of the roof.
Afterwards we began attaching roof panels using an edge gauge to ensure proper overhang and positioning of the panels. Unfortunately we were rained out both days this past weekend, limiting our progress...
Lozwott will have a metal roof, from Martin Metal in Versailles, MO. This past Sunday Tif and I installed nailer boards to support the metal panels. I ordered the panels today for installation this coming weekend. The nailer boards consisted of 2x4x20’s installed running the length of the building – per side there are 2 at the ridge line, one every 24″ and two at the lower edge of the roof. Here are some pics:
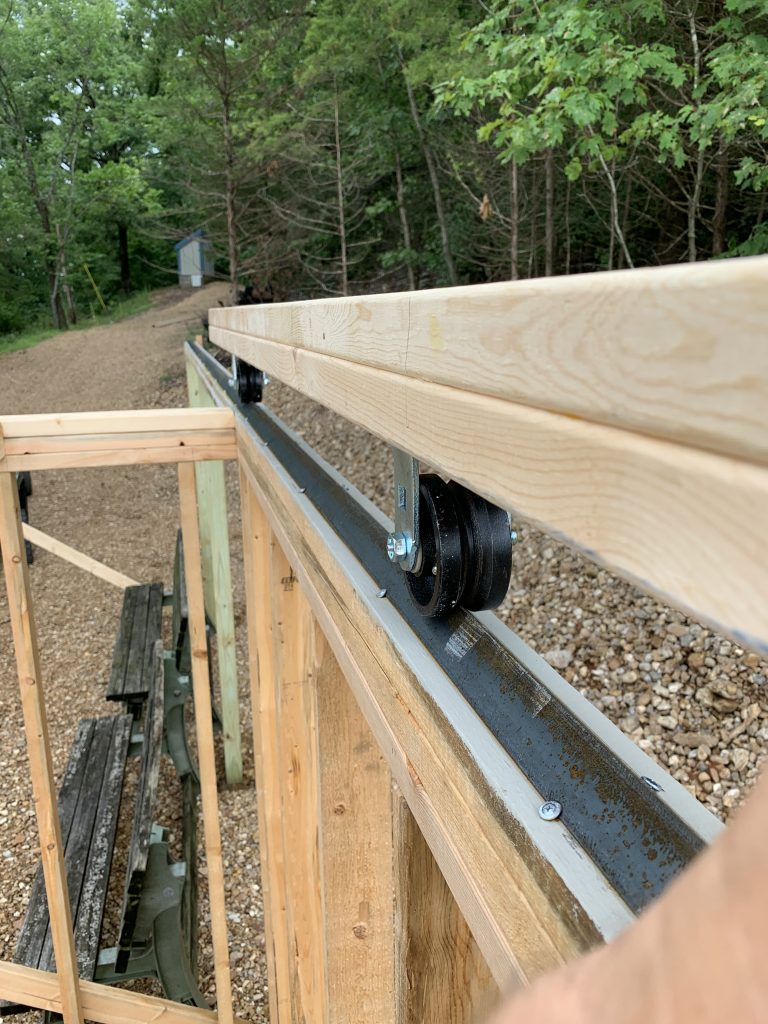
We then cut and installed extra 4×4 bracing for the roof rails that sit behind the building, this is needed when the roof sits in the open position – extra bracing for the laminated 2×4’s is indicated due to the weight of the roof. These consisted of 4×4’s cut 45 degrees, and sized to provide appropriate extra support.
A very productive weekend!
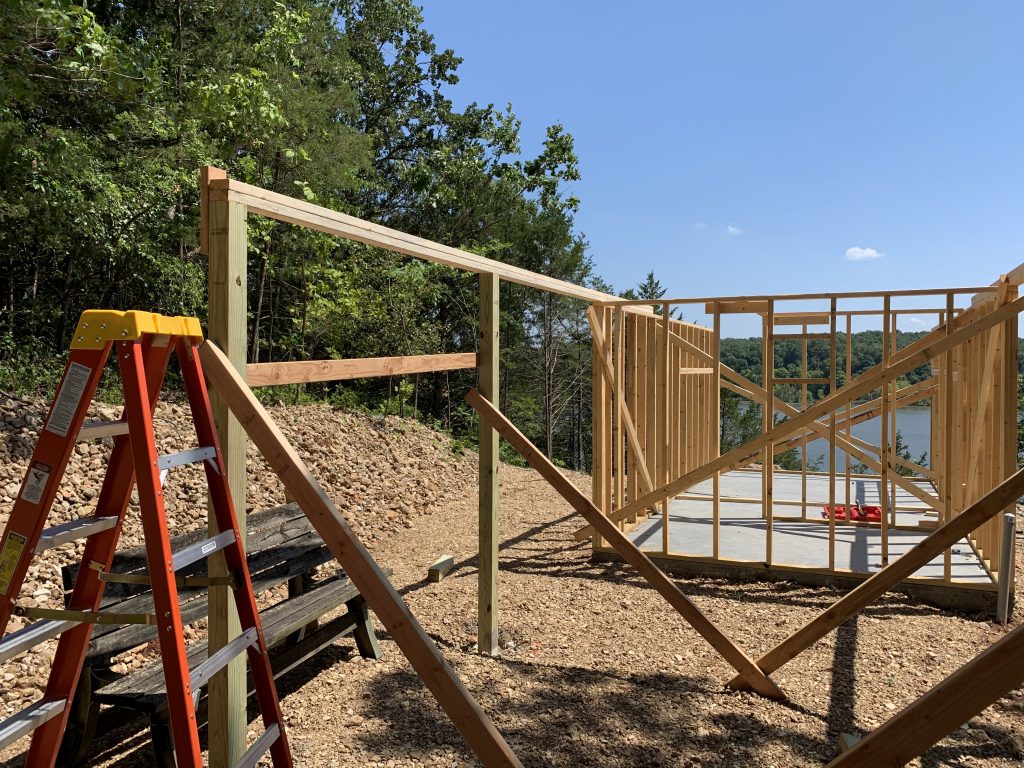
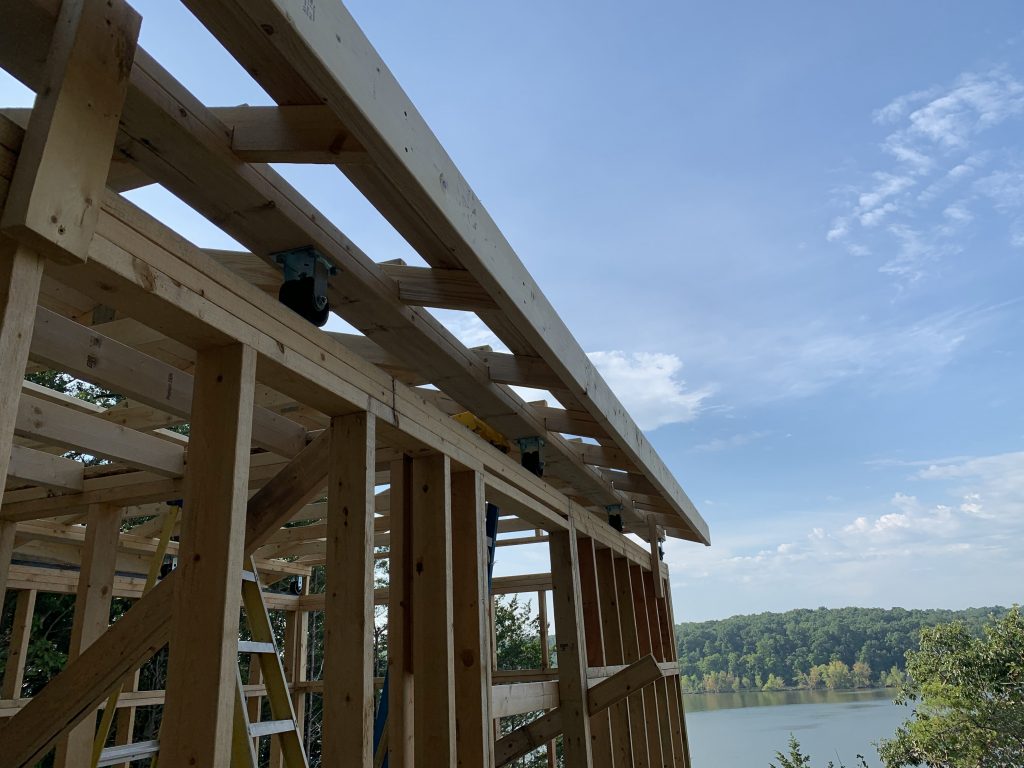
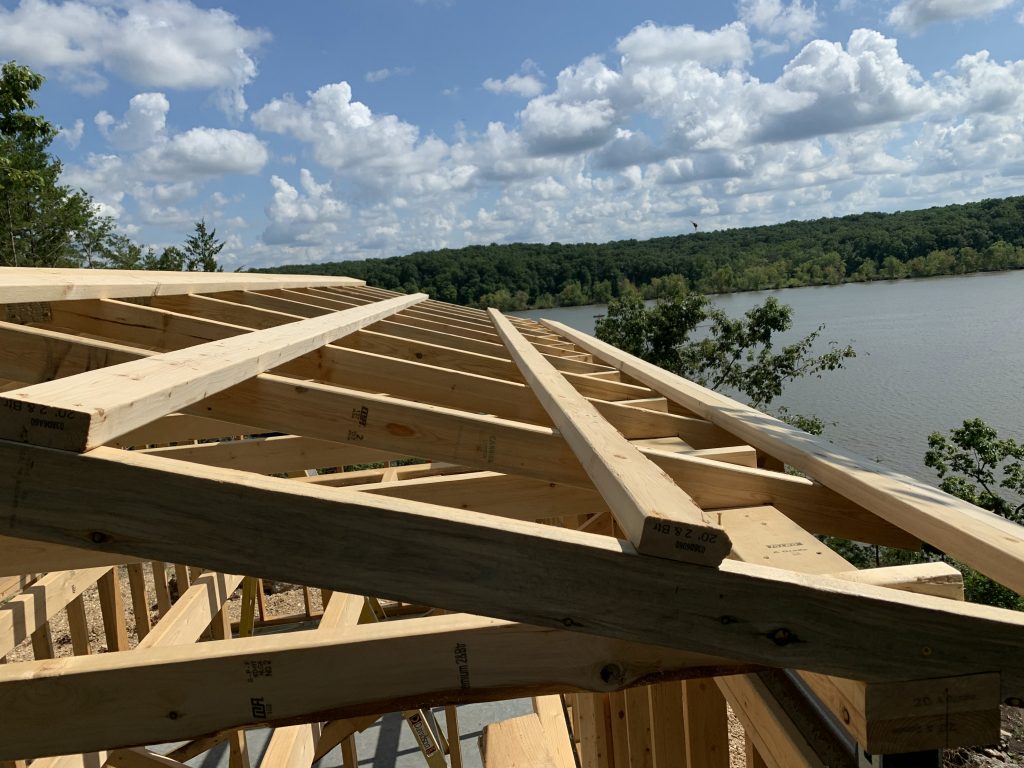
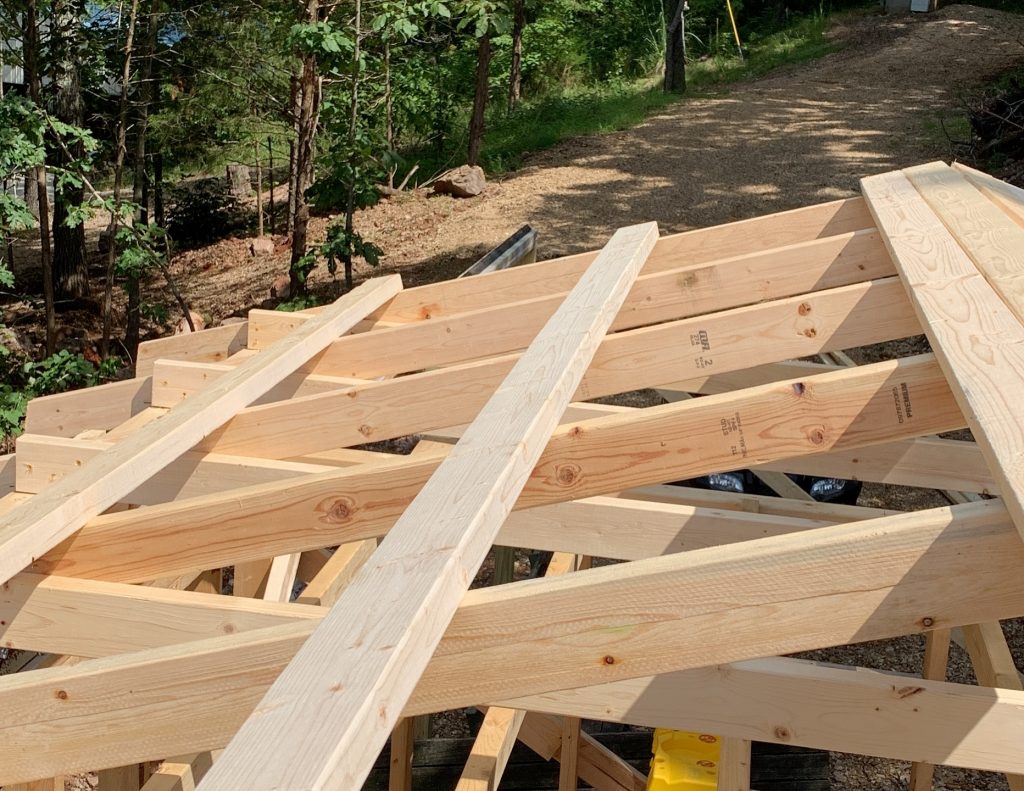
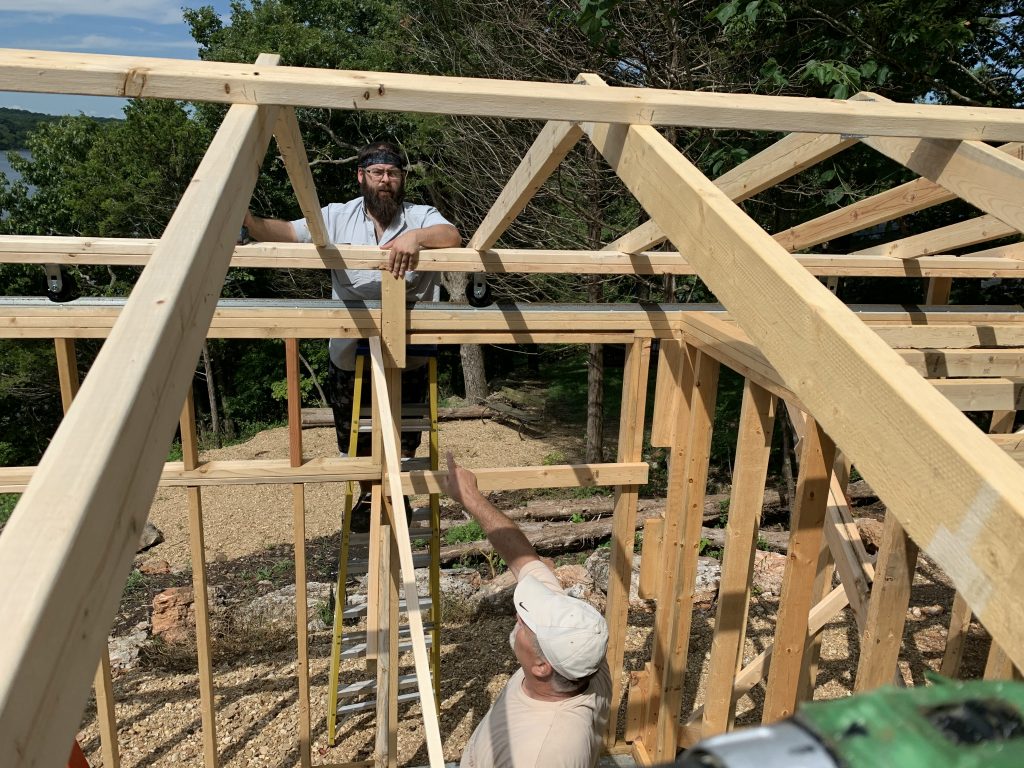
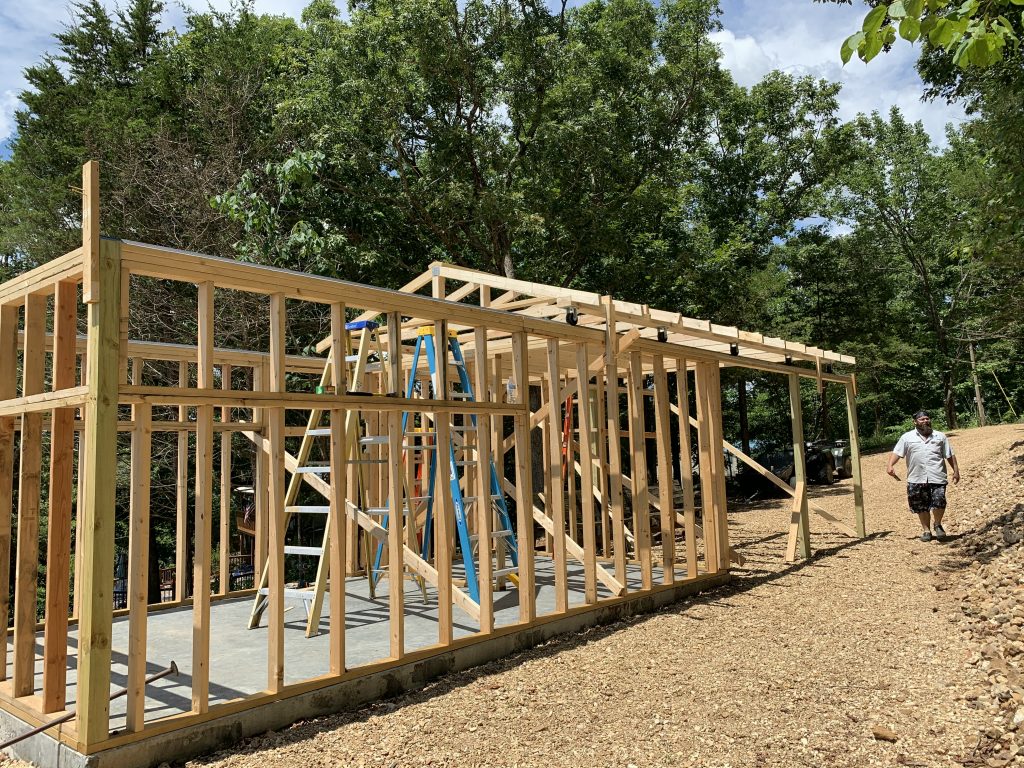
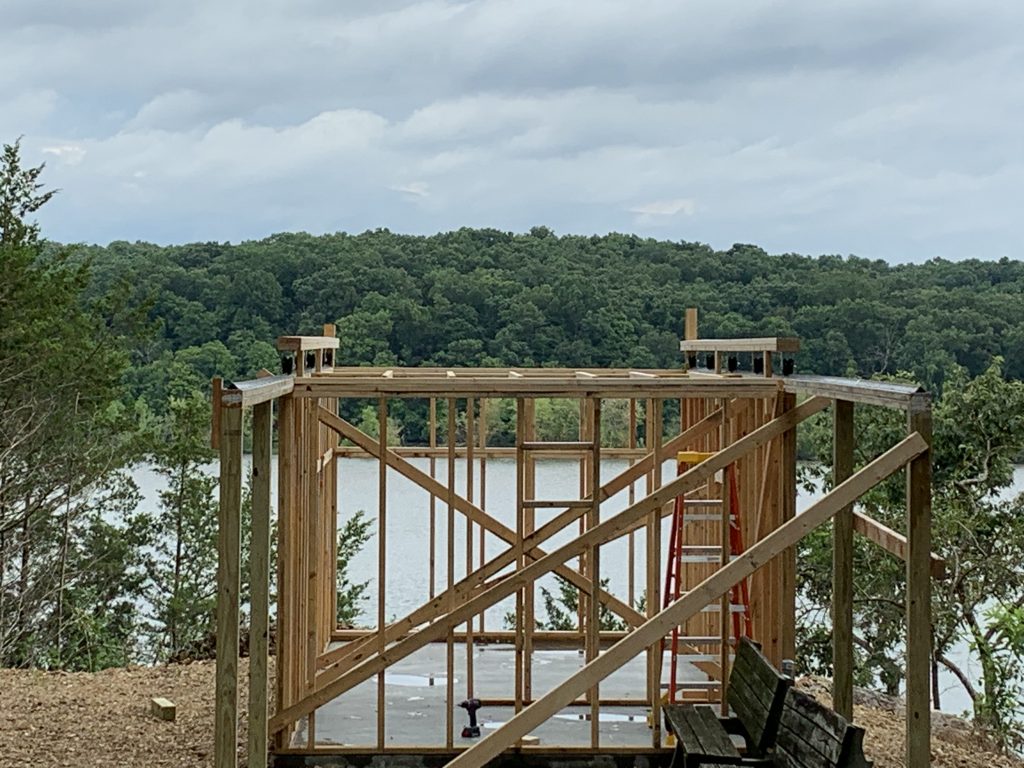
Today my neighbors Dave and Nathan helped build the roof frame. The frame consisted of 2×4 rafters cut for a 4:12 pitch with a 12 in overhang. I actually made the rafters several weeks ago in the garage. Dave measured and cut the bird-mouths and get the rafters installed – good thing – this is beyond anything I have ever done myself. Afterwards, we made some adjustments to the west side caster base and then installed ridge line boards and cross braces. An amazing amount of progress for one day.
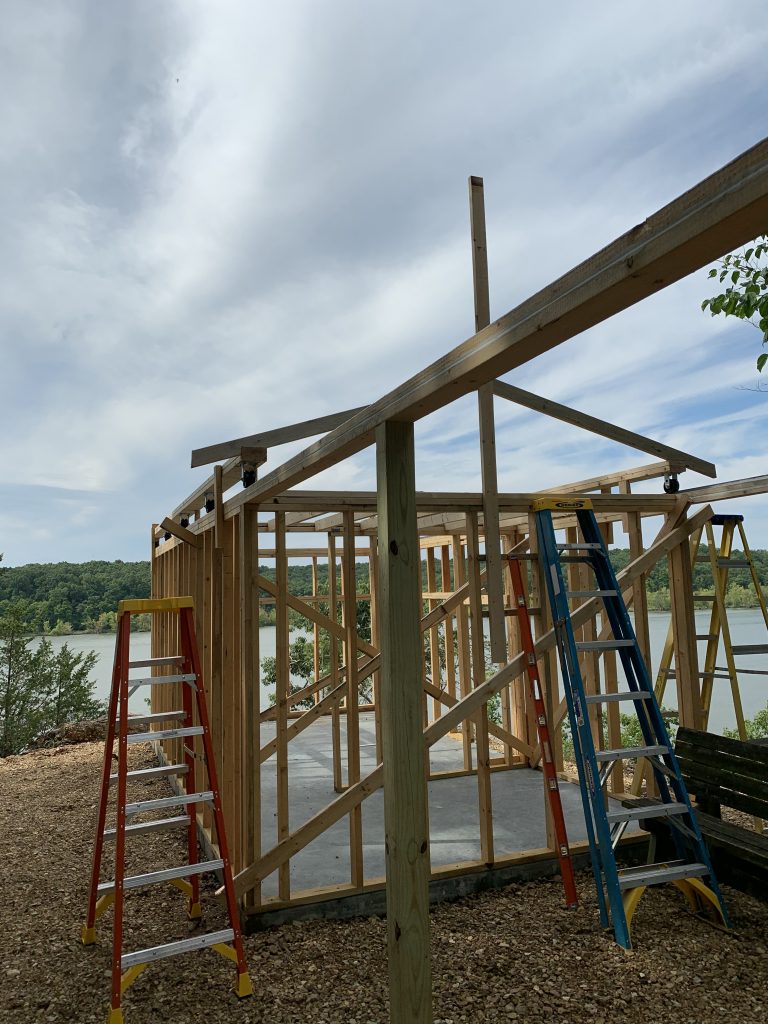
After the Rafters and cross boards were installed, we put to 2×4’s up to create the ridge line. Then, Nathan and I decided to give the roll-off roof a dry run to see if it worked properly….
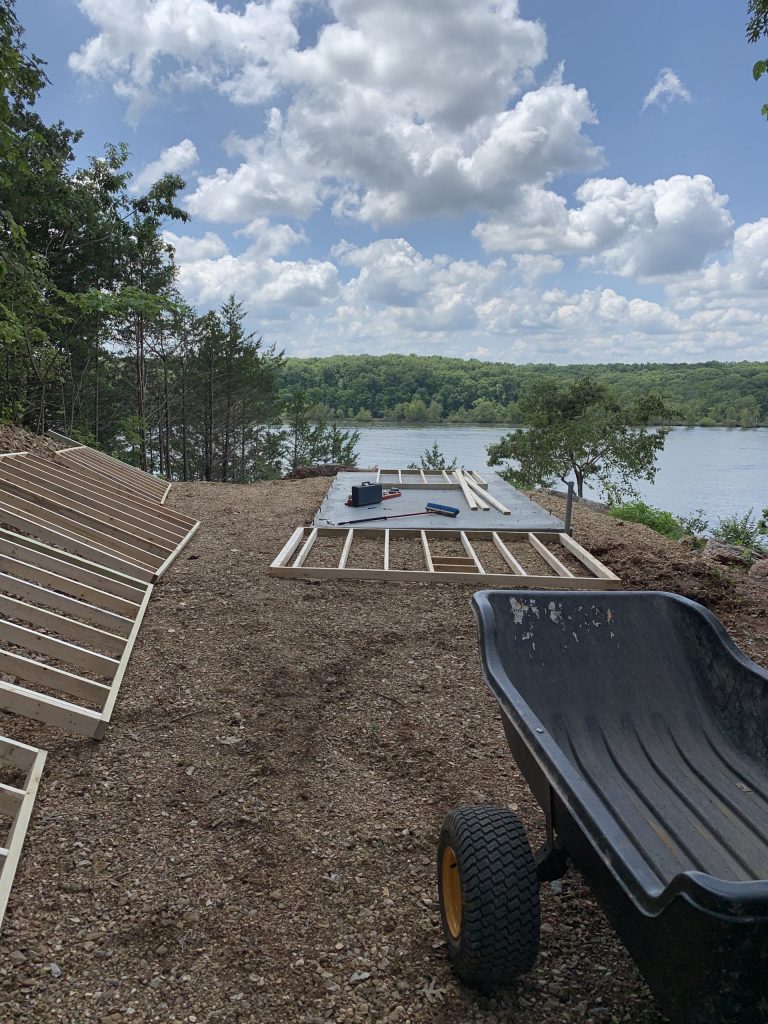
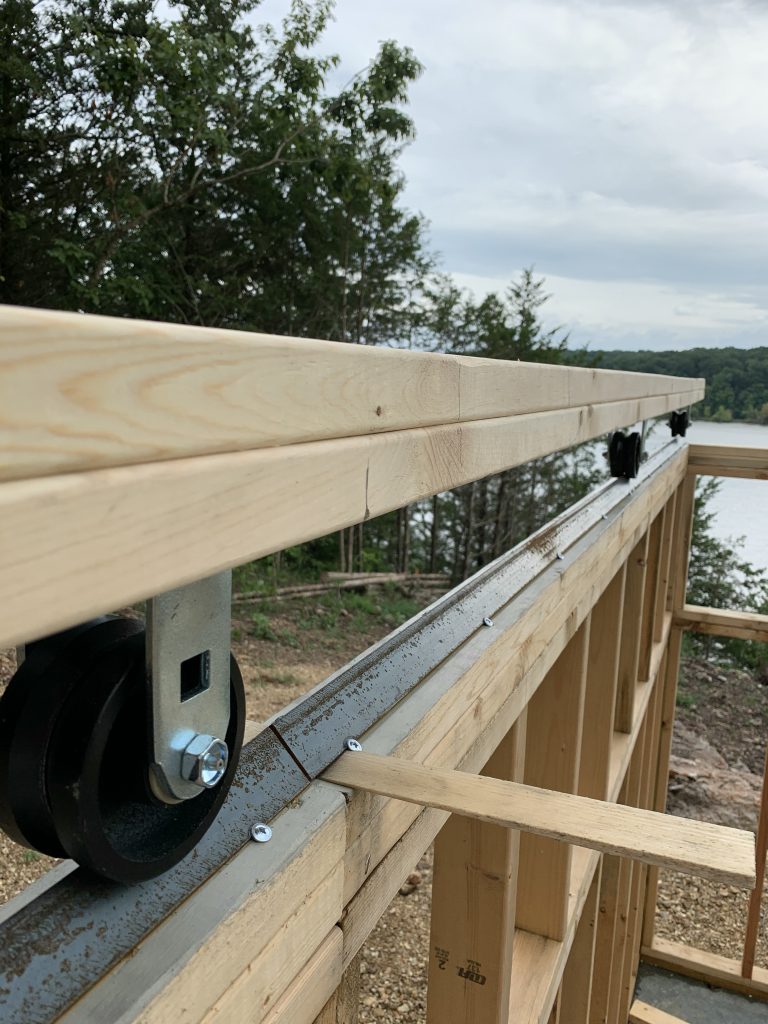
On Friday the 31st, We put together the 2×6 roof base. These laminated 2×6’s will have 5 3-inch steel casters each, and will be the basis of the roll-off roof. I used a string line to make sure the casters were line up with one another as straight as possible.
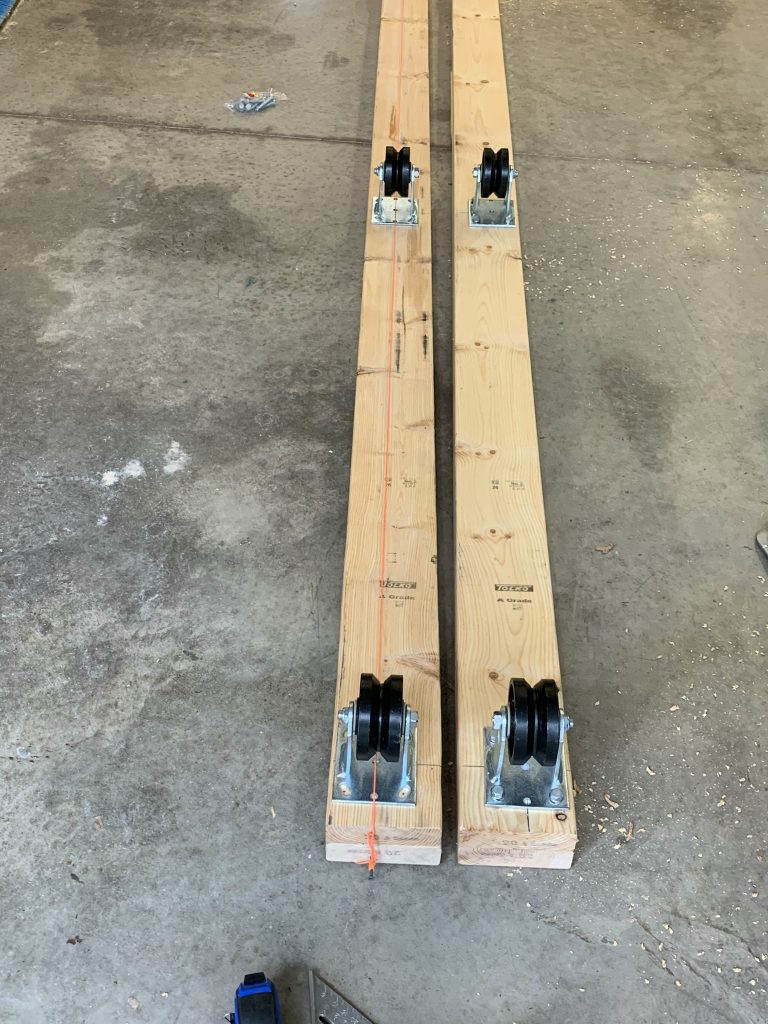
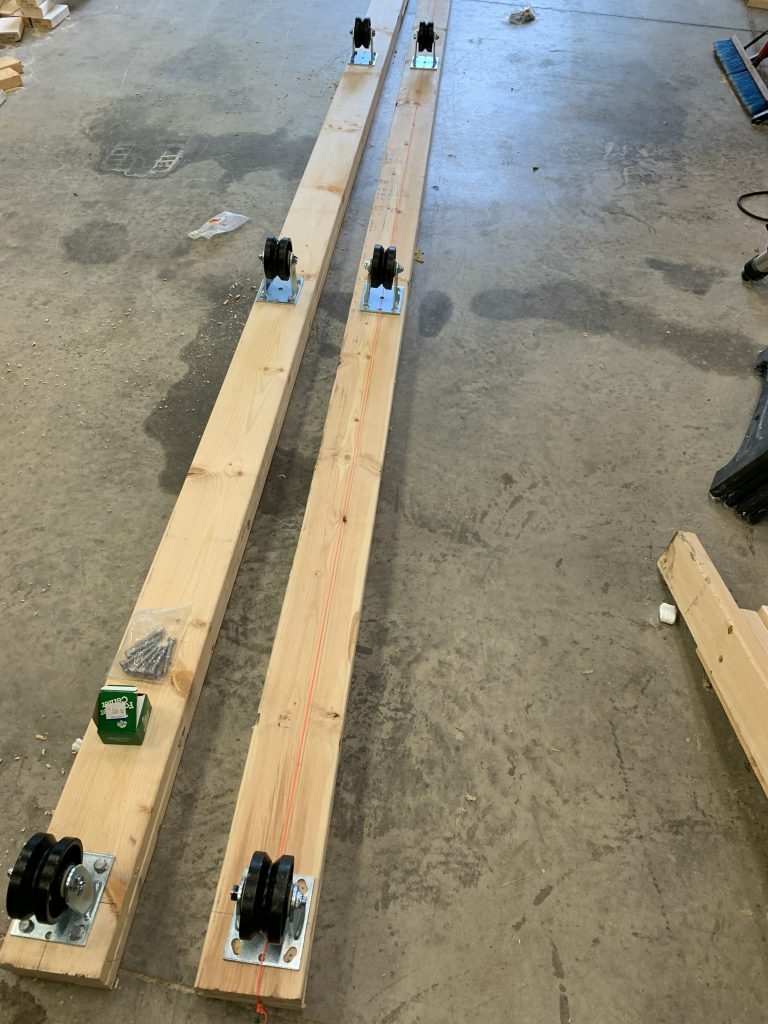
After the casters were installed, we carried the boards up to the site and installed them with temporary supports to keep them in place until the roof frame is built. This was a bear – these 20′ double 2×6 boards with 5 steel casters are heavy! I think Tif was ready to kill me after this chore…
LOZWOTT (Lake of the Ozarks Workshop of the Telescopes) is an under construction amateur observatory on the upper west end of the Lake of the Ozarks in Central Missouri.
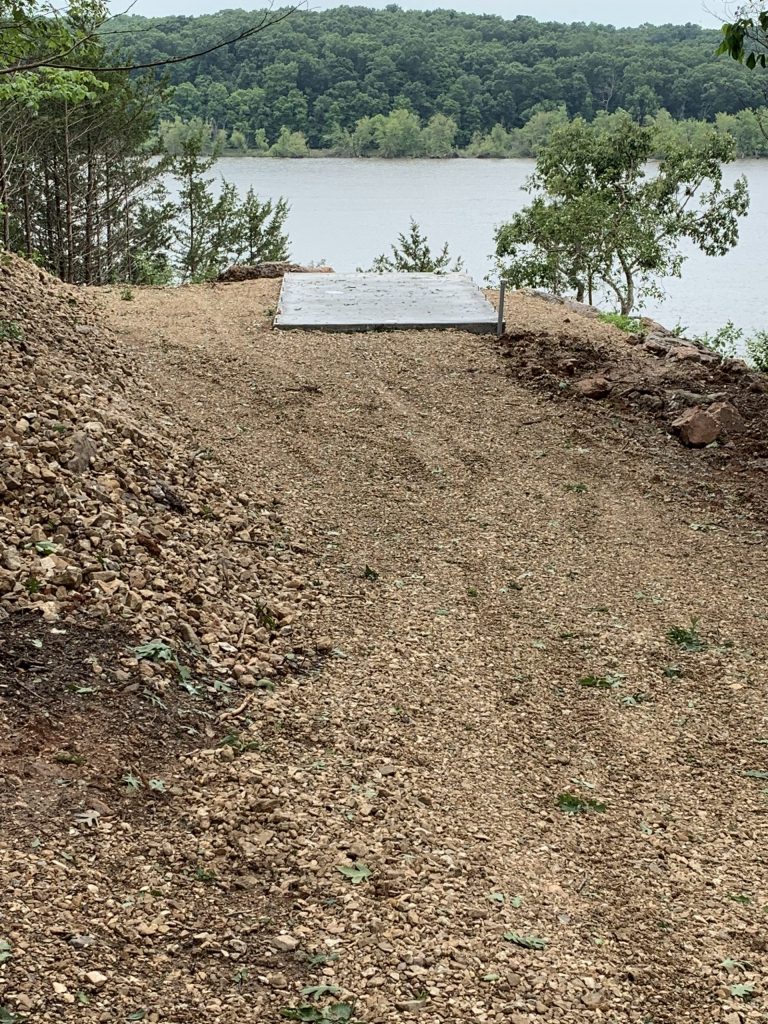
Its a custom designed roll-off roof observatory with 10′ x 20′ total space, consisting of a 7’x10′ control room/office and a 13’x10′ telescope area. The telescopes at LOZWOTT will be a 12″ Meade LX200 EMC, a custom made 12.5 Inch f/4.5 Newtonian, and a Celestron Spotting scope. LOZWOTT will eventually be fully online, with remote observing capabilities. Here are some pics of the construction progress up until July 29th, 2020. This BLOG will continue with construction progress from this point on in individual posts.